Note: Available only for new signups after the 31 March, 2026 release. If you signed up earlier, refer to the existing ITAM documentation.VLAN management in Freshservice allows you to track Layer 2 segments across your infrastructure. Whether discovered automatically or added manually, these records link subnets, switch ports, and MAC addresses to their respective broadcast domains. To maintain an accurate inventory, Freshservice provides tools to resolve duplicates that often occur during the discovery of multiple switches.
This article provides an overview of how to manage Virtual Local Area Networks (VLANs). It covers navigating the VLAN list, manually adding records, and using the merge functionality to consolidate duplicate entries from autodiscovery.
Prerequisites
You need the following before managing VLANs:
Access to the IT Asset Management module in your Freshservice instance.
Administrator privileges or specific permissions to create and edit VLAN records.
Discovery jobs configured if you intend to pull VLAN data automatically from switches.
Add a new VLAN
If a VLAN is not automatically discovered, you can add it manually. To add a VLAN, follow these steps:
Go to the VLANs list page and click Add new.
Enter the VLAN number in the Number field.
Select the appropriate workspace from the Workspace dropdown menu.
(Optional) Enter a name in the Name field. If you leave this blank, the system automatically assigns a name in the format VLANxxxx.
(Optional) Associate the VLAN with multiple switches by selecting them from the Switches dropdown menu.
Click Save.
View VLANs list page
The VLAN list page serves as the central hub for monitoring your network segments. To view your complete inventory, navigate to IT Asset Management > Inventory > VLANs.
From this page, you can perform the following actions:
Filter and Sort: Organize the list by clicking any column header or use the filter sidebar to narrow down records by name, number, or other specific attributes.
Import: Bulk-import multiple VLAN records simultaneously. To do so, click the More Options (three vertical dots) icon and select Import. Download the provided sample sheet, populate it with your network data, and upload the completed file.
Search: Use the search bar to enter full or partial values to locate specific VLANs quickly.
View Details: Click an individual VLAN entry to open its dedicated details page for a more in-depth view of its configuration.
Merge discovered VLANs
During autodiscovery, Freshservice fetches VLAN data from every discovered switch. Because Freshservice does not assume matching numbers on different switches represent the same network, duplicate entries may appear
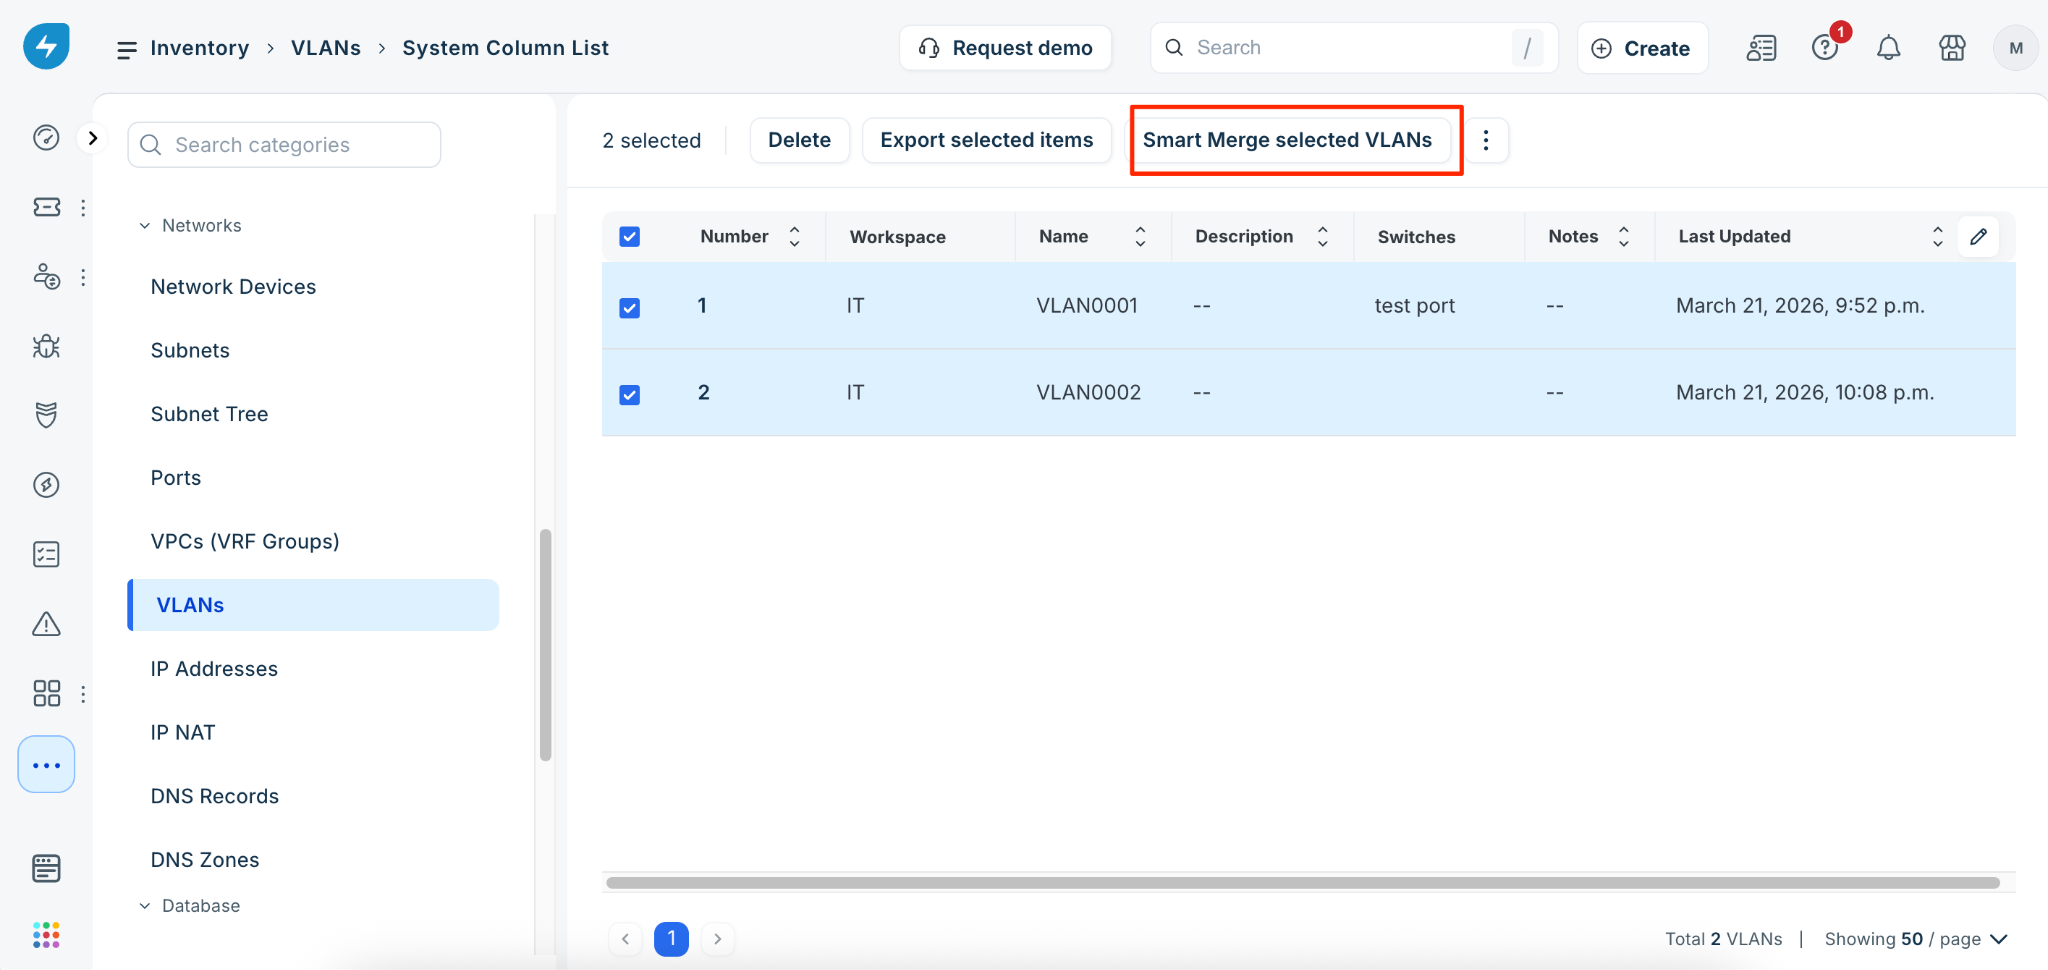
Follow these steps to match and merge identical VLAN numbers across your entire inventory.
Go to the VLANs list page and select the checkboxes for the specific VLANs you want to consolidate.
From the toolbar, click Smart Merge selected VLANs.
Click Confirm.
Frequently asked questions
What happens when VLANs are merged?
When you perform a merge, duplicate VLAN numbers are eliminated. Freshservice consolidates all associated subnets, switch ports, and MAC addresses into a single, unified VLAN record.
Does a VLAN merge prevent future duplicate VLANs?
Yes, for existing infrastructure. However, if you discover a new switch, Freshservice pulls its VLANs as unique records. If this occurs, repeat the merge process to integrate the new data into your existing records.