Canned Responses are predefined reply templates that help agents respond to tickets quickly and consistently. They support placeholders to automatically insert dynamic information such as the requester’s name, ticket ID, or ticket URL directly into the message.
Canned responses are configured at the workspace level, and agents will see all canned responses from the workspaces they have access to. To improve organization and collaboration, you can also create folders to group and share canned responses across teams.
TABLE OF CONTENTS
How to use a canned response in a ticket?
- Open any ticket from the dashboard or ticket list.
- Click Reply from within the ticket.
- Click the Canned Response icon at the bottom left corner of the reply editor. For more information on how to configure canned responses, see Creating common reply templates with Canned Responses.

- In the Canned responses window, click Add to insert the selected response into your reply.

The canned response, along with any dynamic content, is now added to the reply and ready to send.

How to create a folder for canned responses?
To create create a folder to group canned response, follow these steps:
- Go to Admin > Workspace Settings > {Workspace name} > Canned response.
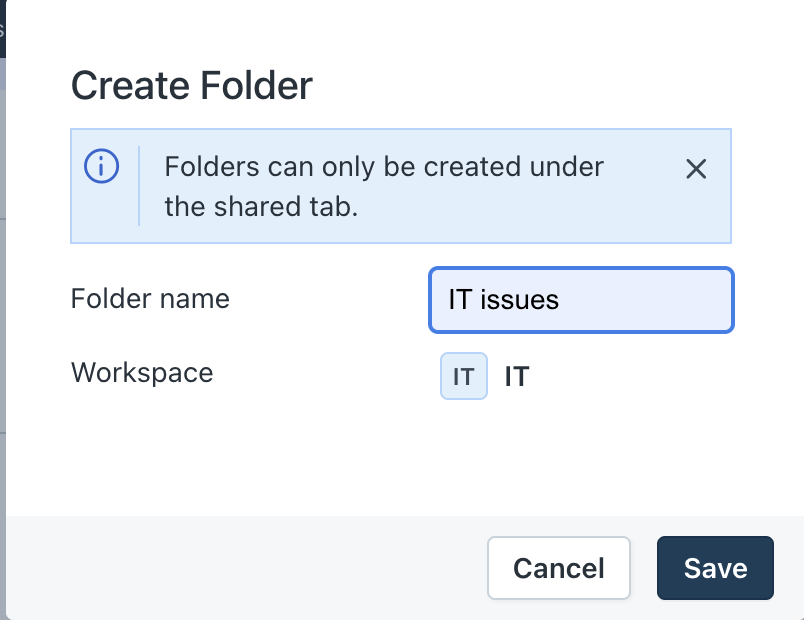
- From the Create dropdown, select Folder.

- In the Create Folder window, enter the folder name. The new folder is under the Shared tab.