
 Community
 Video Library
 Agent Training
 Freshservice
 Freshdesk
 Freshchat
 Freshcaller
 Freshsales
 Freshteam
 Freshworks Neo
 Freshsurvey
 Freshservice for MSP
Deploy the Freshservice ITAM discovery agent to Windows devices using Microsoft Intune. You package the agent installer as a .intunewin file, create a Win32 app in Intune, and assign it to your devices.
TABLE OF CONTENTS
- Overview of the deployment process
- Deploy the discovery agent
- Verify the deployment
- Troubleshoot the deployment
Prerequisites
Before you begin the deployment, ensure that you have the required access, installation files, and tools.
Administrator access to Freshservice ITAM.
Administrator access to the Microsoft Intune admin center.
Target devices running a 64-bit (x64) edition of Windows 10, version 1607 or later.
The Freshservice ITAM Windows Agent .zip file downloaded from Freshservice ITAM. The file contains the .msiinstaller and the encrypted configuration file.
The Microsoft Win32 Content Prep Tool (IntuneWinAppUtil.exe).
Overview of the deployment process
Microsoft Intune deploys Windows applications in the Win32 app format. You must first package the agent installer as a .intunewin file before uploading it to Intune. The deployment involves two steps:
Convert the Freshservice ITAM Discovery agent installer into a .intunewin file.
Create a Win32 app in Intune and assign it to the target devices.
Deploy the discovery agent
Follow these steps to package the installer, configure the Win32 app, and deploy the agent to your Windows devices.
Step 1: Download the agent installer
Go Admin > Asset Management > Discovery > Agent-based scans.
Under Platforms, select either Windows 64-bit Installer or Windows 32-bit Installer.
Click Download Agent.
Step 2: Package the installer as a .intunewin file
Convert the downloaded Freshservice ITAM Windows Agent installer into the .intunewin format using the Microsoft Win32 Content Prep Tool.
Download IntuneWinAppUtil.exe from the Microsoft Win32 Content Prep Tool GitHub repository. You can download the executable directly or clone the repository using Git: git clone https://github.com/microsoft/Microsoft-Win32-Content-Prep-Tool.git
Create a working directory on your local machine, such as C:\fs_intune. Inside this directory, create the following folders:
C:\fs_intune\agent_source – Stores the extracted installer files.
C:\fs_intune\agent_out – Stores the packaged .intunewin file.
Extract the downloaded Freshservice ITAM Windows Agent .zip file. Copy all its contents, including the .msi installer and the encrypted configuration file, directly into the C:\fs_intune\agent_source folder.
Note: Ensure that both files are present in the source folder before packaging the installer.Open Command Prompt or PowerShell, navigate to the directory where you downloaded IntuneWinAppUtil.exe, and run the following command:
IntuneWinAppUtil.exeEnter the packaging parameters, when prompted, provide the following values.
Note: Enter only the setup file name, not its full path.
Go to the C:\fs_intune\agent_out folder and confirm that the following file has been created successfully:
Freshservice-ITAM-Windows-Agent-x64-1.0.0.0.intunewin
You will upload this file to Microsoft Intune in the next step.
Step 3: Create the Win32 app in Intune
Create a Win32 app in the Microsoft Intune admin center, upload the packaged installer, and configure the installation and deployment settings.
Sign in to the Microsoft Intune admin center.
Go to Apps > Windows, click Create.

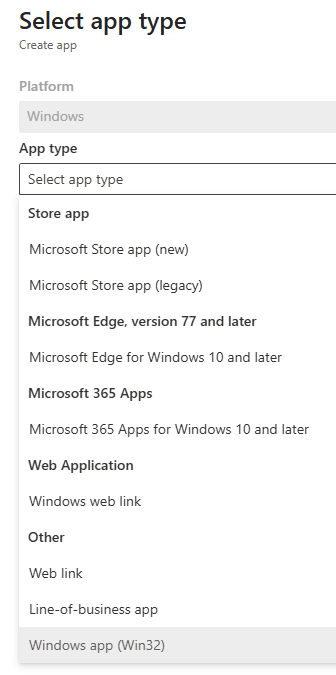
Select Windows app (Win32) as the app type, and click Select.
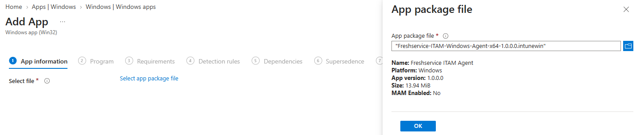
Click Select app package file. Browse to the Freshservice-ITAM-Windows-Agent-x64-1.0.0.0.intunewinfile, select it, and click OK.
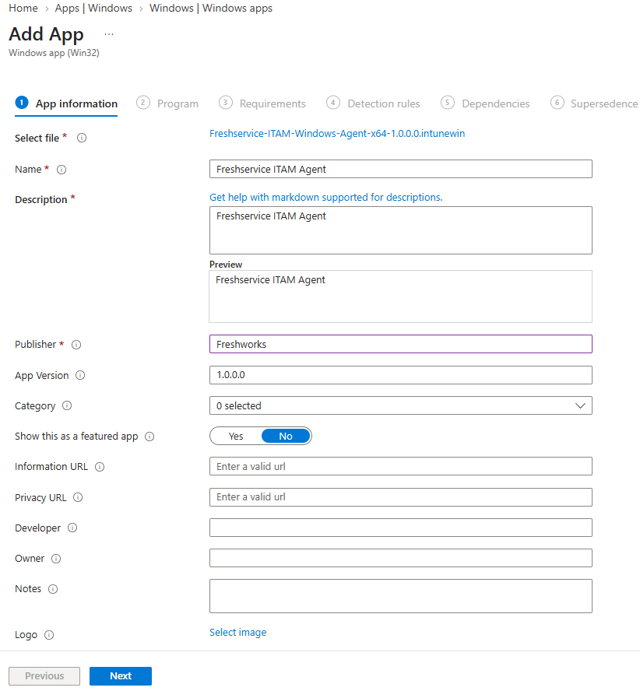
Enter the app information:
Name: Enter a name for the application.
Description: Enter a description of the application.
Publisher: Enter the publisher name.
Click Next to continue.
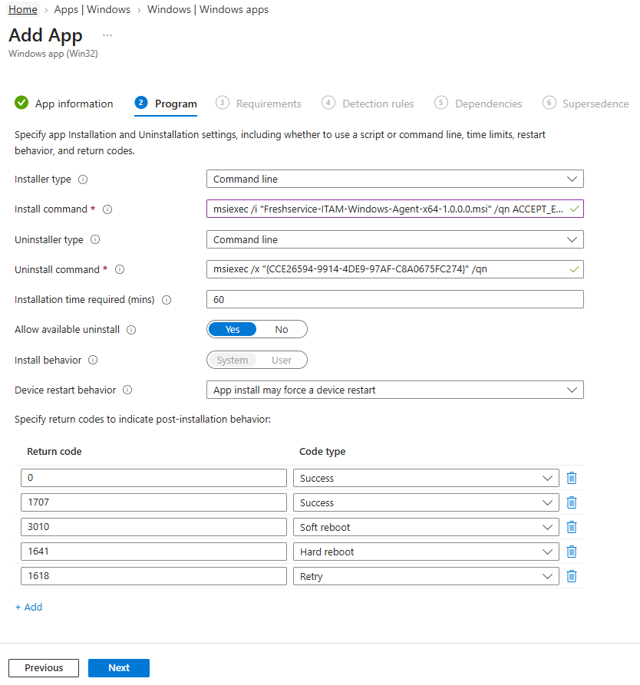
On the Program tab, add ACCEPT_EULA=1 to the end of the installation command.
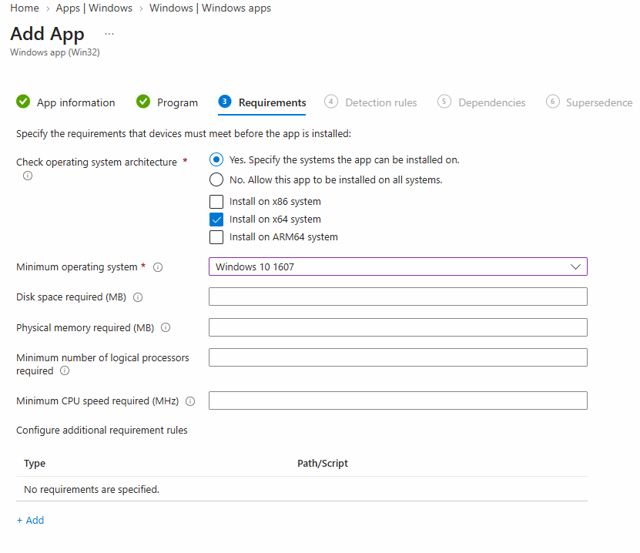
On the Requirements tab, configure the following settings:
Operating system architecture: Select Install on x64 system.
Minimum operating system: Select Windows 10 1607.
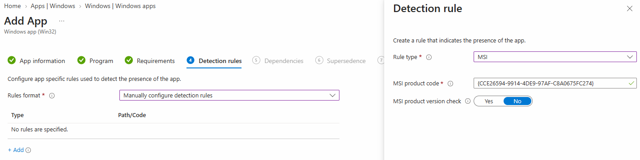
On the Detection rules tab, select Manually configure detection rules, set the Rule type to MSI, and retain the default MSI product code.
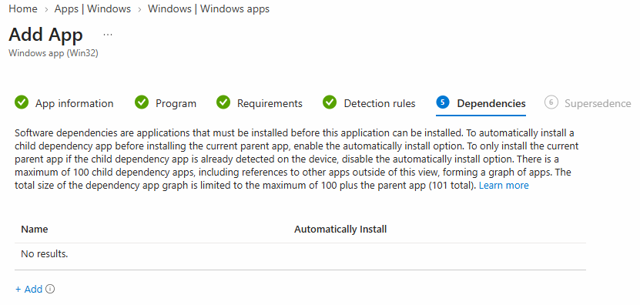
On the Dependencies tab, retain the default settings and click Next.
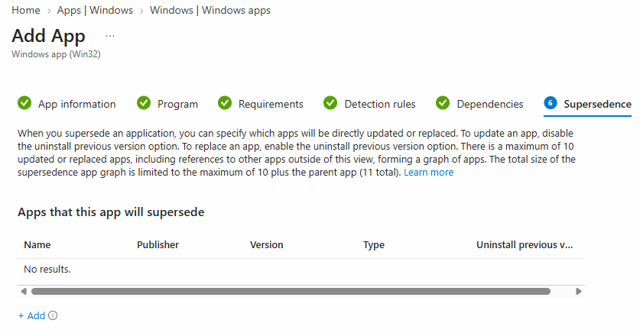
On the Supersedence tab, retain the default settings and click Next.
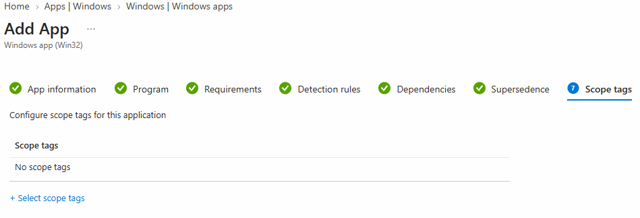
On the Scope tags tab, retain the default settings and click Next.
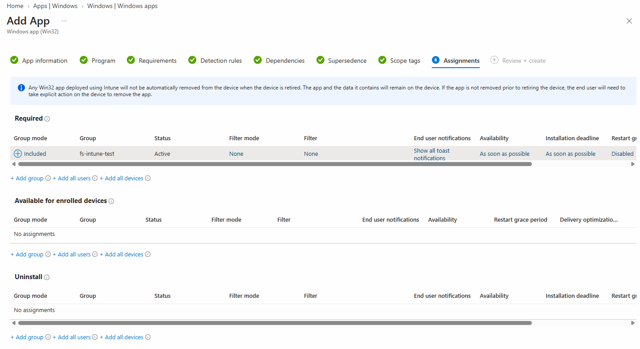
On the Assignments tab, add a group containing the devices you want to deploy the Discovery Agent to. Alternatively, select Add all users or Add all devices to deploy the app more broadly. Click Next.
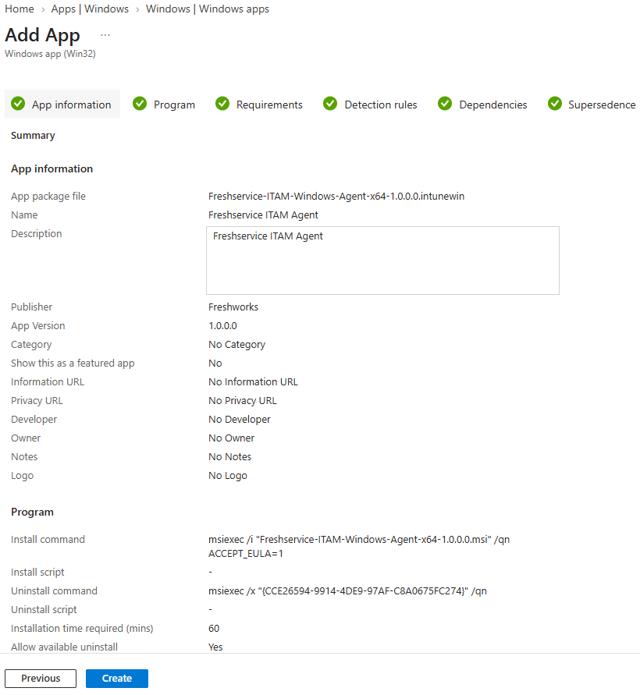
On the Review + create tab, verify the configuration and click Create to complete the app setup.
The new app appears under Apps > Windows in the Intune admin center. Select the app and open Device install status to monitor the installation.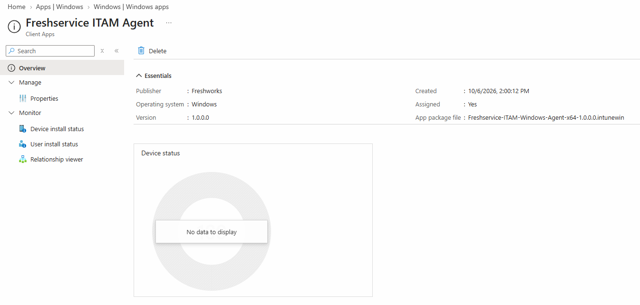
Verify the deployment
After Intune installs the agent, verify that the installation is successful and that the devices appear in Freshservice ITAM.
In the Microsoft Intune admin center, go to Apps > Windows.
Select the Discovery Agent app you created.
Click Device install status.
Confirm that the installation status is Installed for the target devices.
Sign in to Freshservice ITAM and navigate to the discovered devices list.
Verify that the deployed Windows devices appear in the list.
Note: Device discovery and reporting may take some time after installation. Allow time for the agent to communicate with Freshservice ITAM before troubleshooting.
Troubleshoot the deployment
If the app fails to install or the deployed devices do not appear in Freshservice ITAM, check the following common issues.