Community
 Video Library
 Agent Training
 Freshservice
 Freshdesk
 Freshchat
 Freshcaller
 Freshsales
 Freshteam
 Freshworks Neo
 Freshsurvey
 Freshservice for MSP
 Freshservice lets you model your physical infrastructure by organizing assets into buildings, rooms, and racks. In this hierarchy, a room belongs to a building, and a rack belongs to a room. You can add rooms and other asset details to a building record.
This article describes how to view, create, update, and delete building records, and how to work with associated rooms and attachments.
TABLE OF CONTENTS
- Prerequisites
- Add a building
- Edit a building
- View building details
- Delete a building
- Perform actions in bulk
- Building Hierarchy
- Hierarchy levels
Prerequisites
Before you begin, ensure that you have:
Administrators require Configure Asset Management to manage buildings.
Access to the Buildings module in your Freshservice instance.
Add a building
To add a building record, follow these steps:
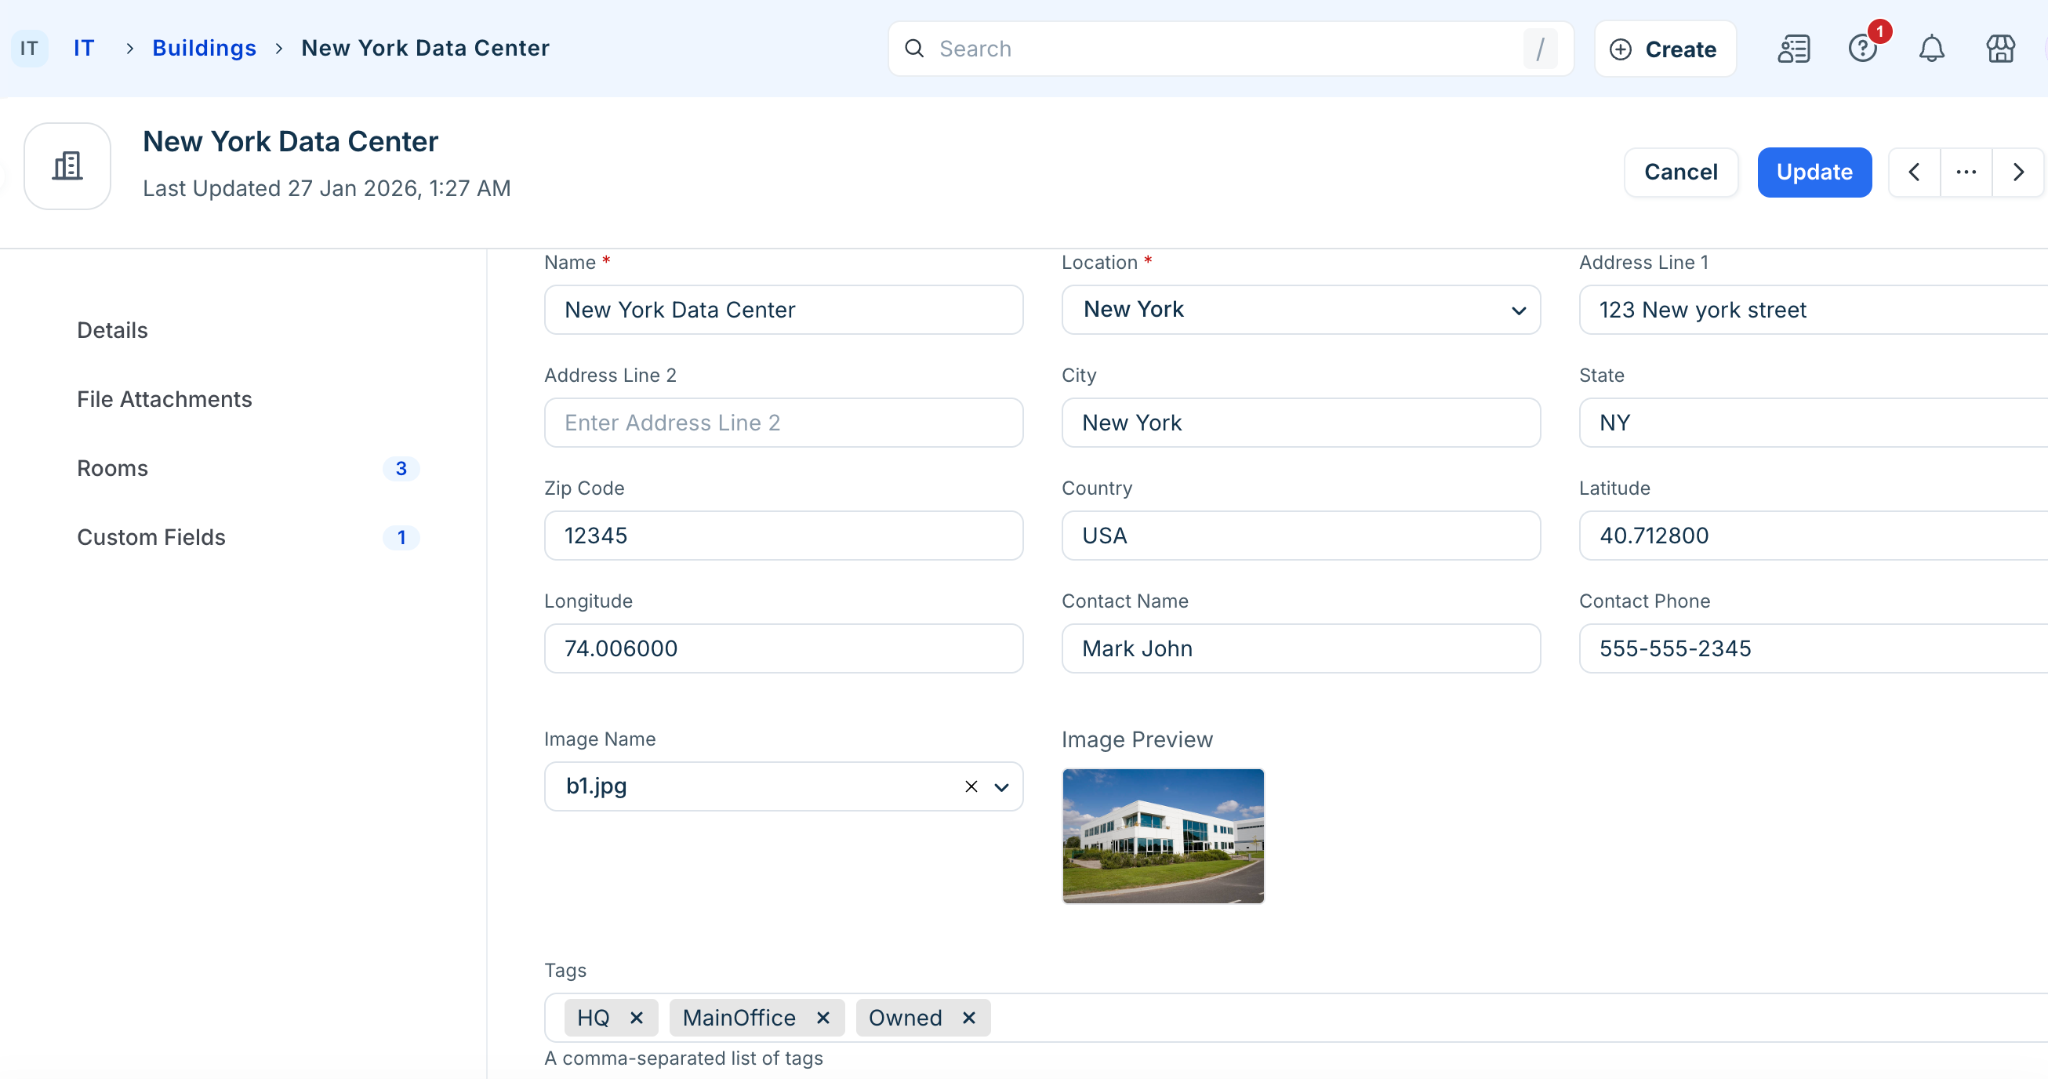
Go to Admin > Infrastructure > Buildings, and then select Add new.
In the Name field, enter a display name for the building.
From the Workspace dropdown, select the workspace where you want to create the building.
From the Location dropdown, select the location to associate with the building.
To add file attachments:
In the File Attachments section, select Add.
Select Upload file, and then upload a file.
Enter a description for the file.
To add rooms:
In the Rooms section, select Add new.
Enter the room name.
Enter any additional details, and then select Save.
Edit a building
To update an existing building record, follow these steps:
Go to Admin > Infrastructure > Buildings, and then select the building you want to update.
Select Edit.
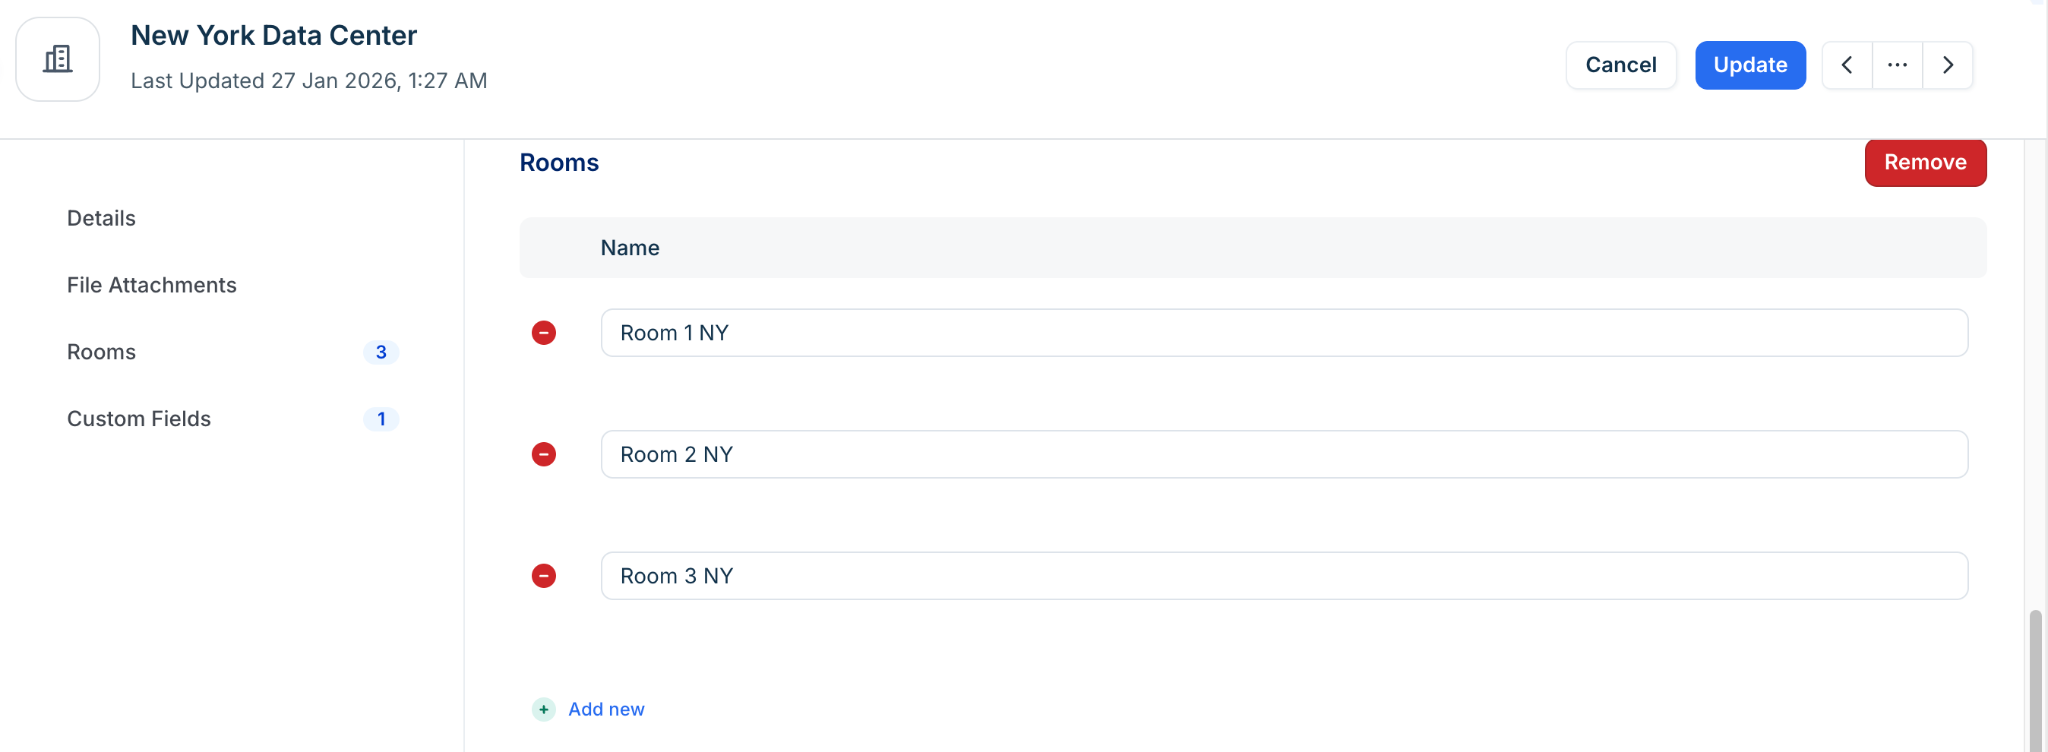
To add a room:
In the Rooms section, select Add.
Enter the room name.
To remove a room:
In the Rooms section, select the Remove icon next to the room.
To manage file attachments:
In the File Attachments section, add or remove files as needed.
Update the required fields, and then select Update.
View building details
To view building details and associated rooms, follow these steps:
Go to the Buildings list, and then open an existing building record.
To add or update rooms, select Edit.
Select a room name to view its details.
Select Impact Chart to open the dependency chart in a new tab.
Delete a building
To delete a building record:
Go to Admin > Infrastructure > Buildings, and then open the building you want to delete.
Click the More options (three vertical dots) menu, and then select Delete.
In the confirmation dialog, select Delete.
Perform actions in bulk
To perform actions on one or more buildings:
From the Buildings list, select one or more records.
Click any of the following options:
Delete: Delete the selected building records.
Export: Export building data
Re-importable Export: Export data in .xlsx format for re-import.
Selected Columns (CSV): Export selected data in CSV format.
Set Custom Field Value: Apply a custom field value to the selected records.
Building Hierarchy
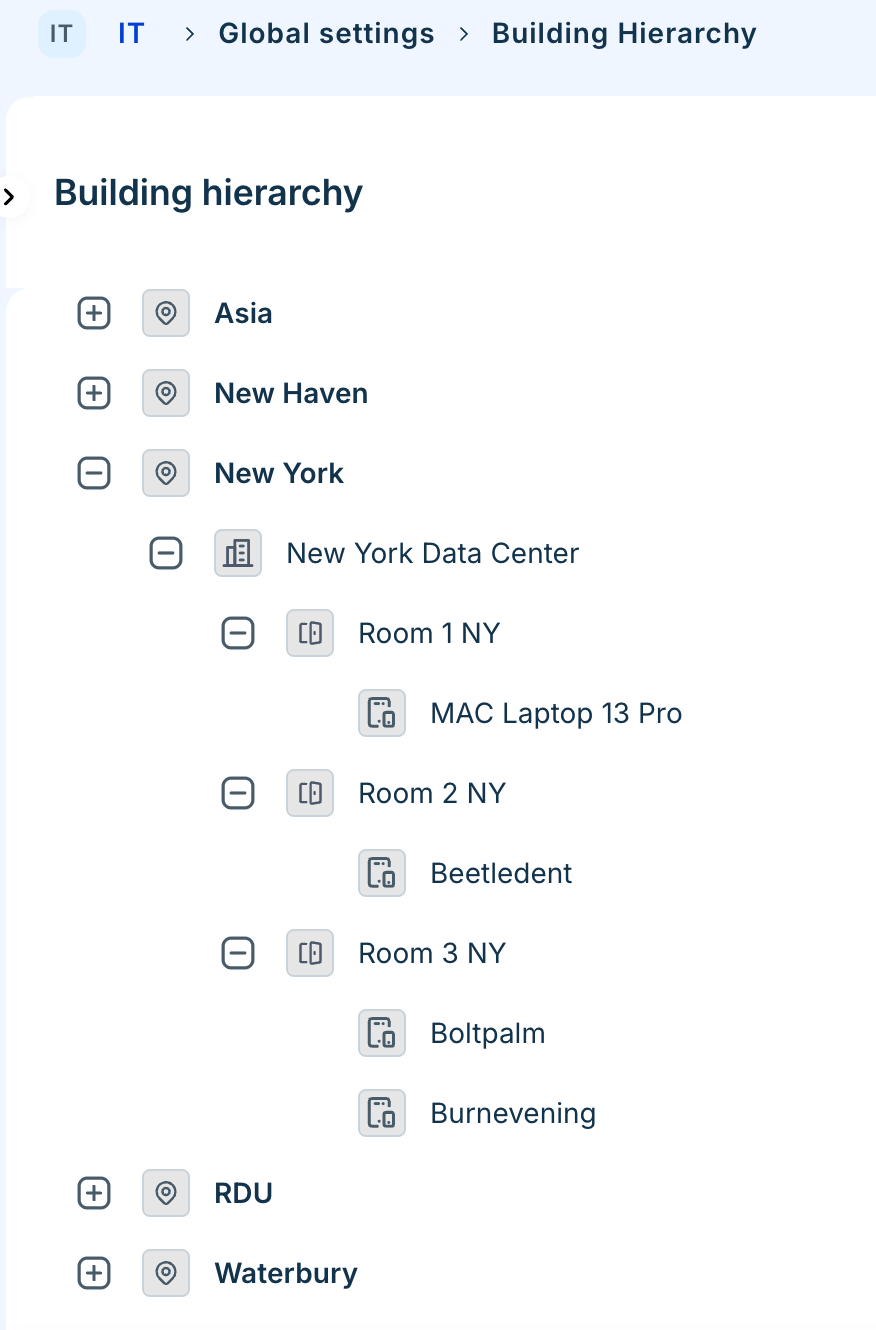
The Building Hierarchy page displays a tree view of your physical infrastructure and hardware assets. The system automatically creates and updates this view based on configurations in the location, building, room, and device settings.
To open the hierarchy, go to IT > Global settings > Building Hierarchy.
Hierarchy levels
The hierarchy organizes items into four nested levels.
Note: You do not need to manually create nodes in this view. Any new location, building, room, or device added or modified in the respective settings will automatically populate in this tree hierarchy.