Community
 Video Library
 Agent Training
 Freshservice
 Freshdesk
 Freshchat
 Freshcaller
 Freshsales
 Freshteam
 Freshworks Neo
 Freshsurvey
 Freshservice for MSP
 Freshservice lets you add location details into your service desk to organize and segregate your assets based on their physical location. You can create top level locations and add child locations under them. For example, if your company operates out of multiple places, you could have the country name at the top level followed by the state, district, and city. You can then specify the exact location while creating a new asset and segregate them based on the location.
This article provides an overview of the Locations feature in Freshservice and instructions on how to create new locations, build location hierarchies, perform quick actions to manage existing entries, and import bulk locations using a CSV file.
TABLE OF CONTENTS
Prerequisites
You need the following before the configuration, ensure that you have the Configure Asset Management permission in your administrator role to access and manage the Infrastructure module in Freshservice.
Create a new location
To create a new location, follow these steps:
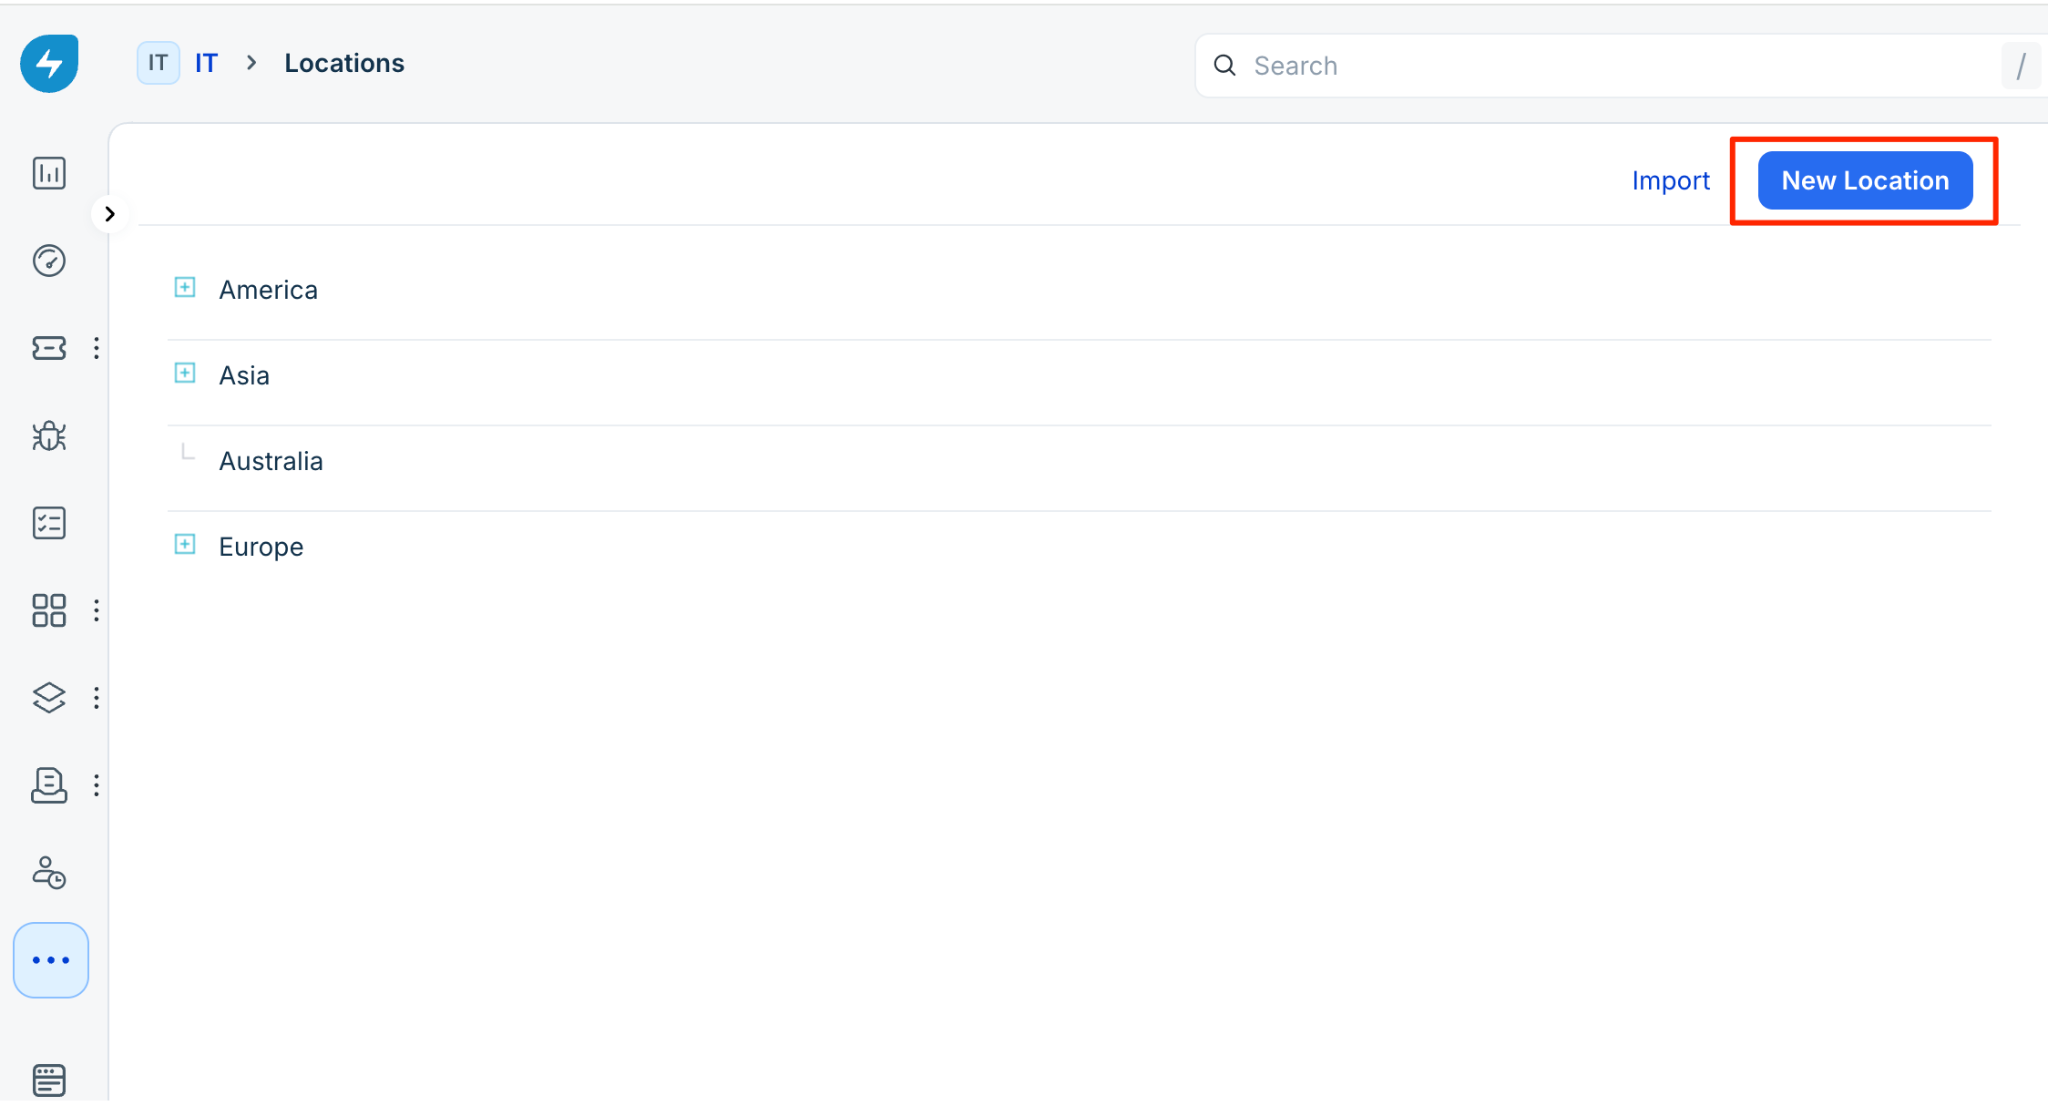
Go to Admin > Infrastructure > Locations.
Click New Location.
On the New Location page, enter the required Location Name.
Enter the following optional details:
Select a Parent Location from the drop down menu if you are creating a child location.
Provide the primary contact details including Contact Name, Email, and Phone.
Enter details in the Address section.
Click Save to create the new location.
Manage locations and build hierarchies
To quickly add child locations, edit details, or delete entries directly from the list view, follow these steps:
Go to the Locations list.
Expand the location nodes to view your hierarchical structure, such as expanding a region to see countries and states.
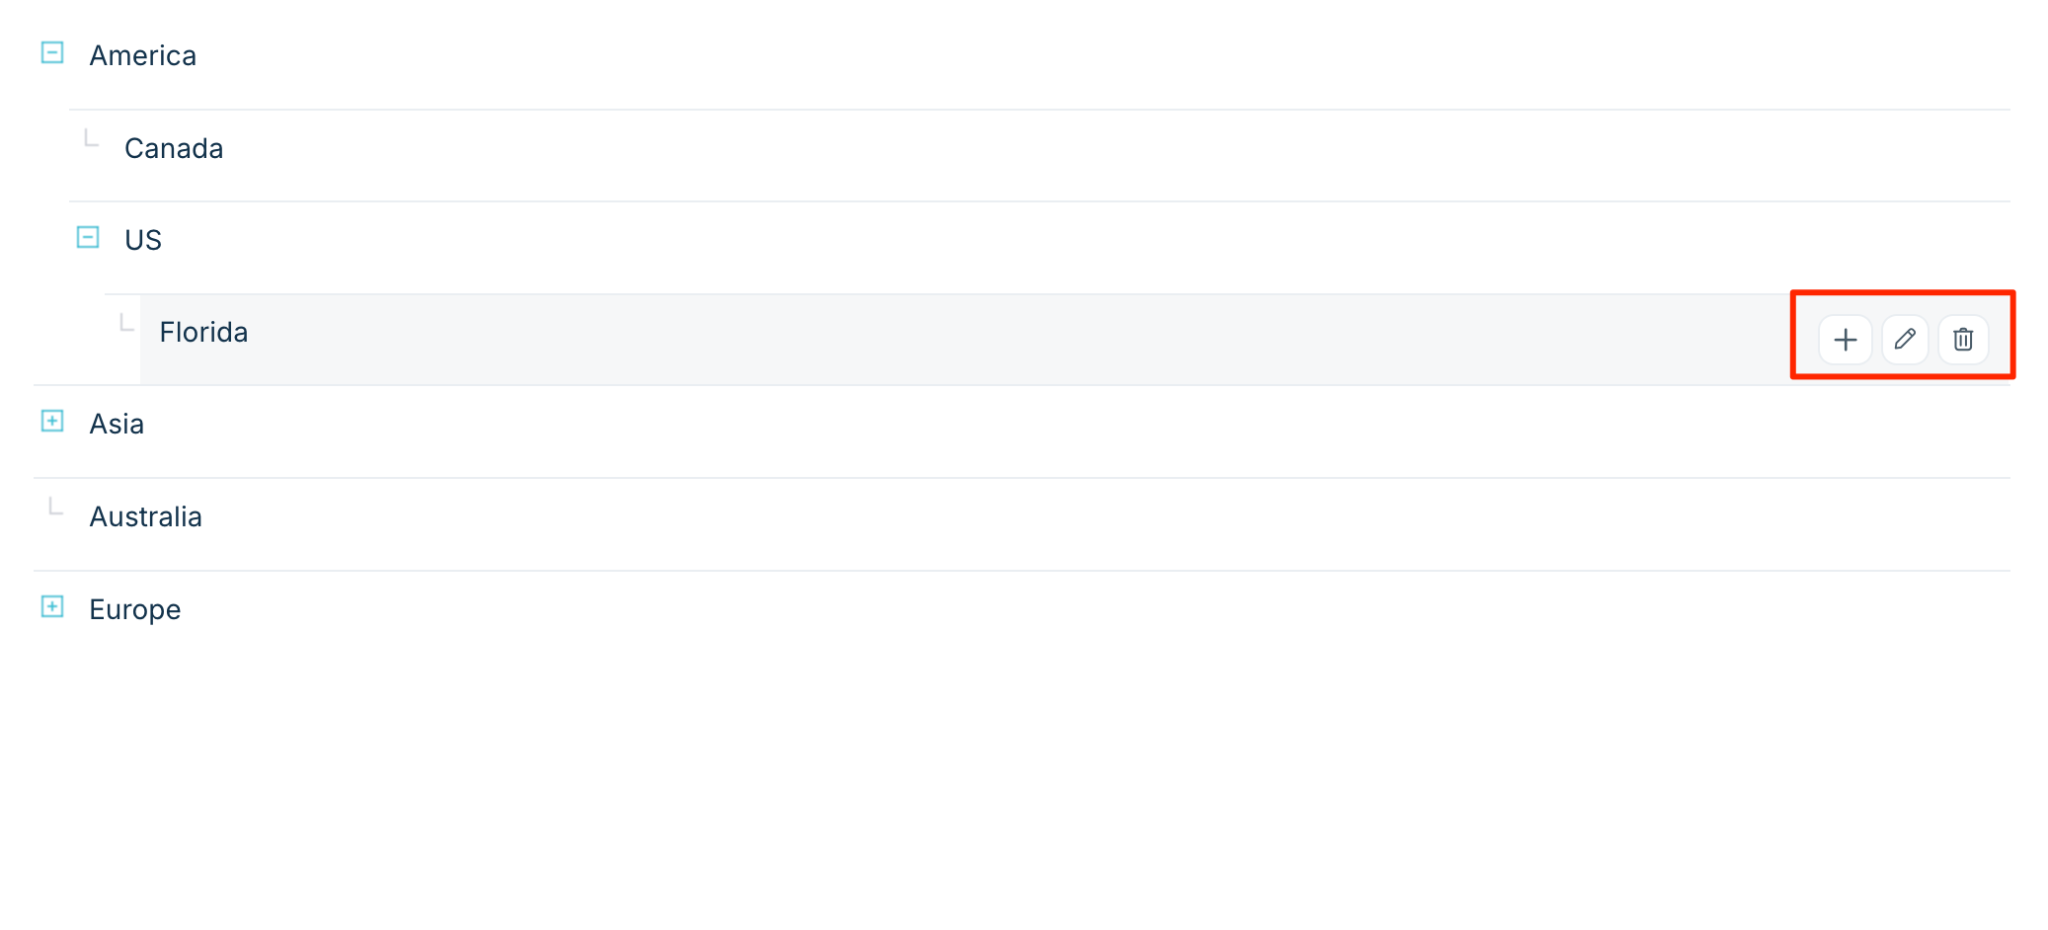
Hover over an existing location, such as a state or city, to view the quick action icons.
Perform one of the following actions:
Click the + icon next to the location name to immediately add a child location under it. Upon clicking the + button, the New Location page opens. Enter details about the location and click Save.
Click the edit icon to modify the details of the selected location.
Click the delete icon to remove the existing location from your infrastructure inventory.
Import locations
To import multiple locations using a CSV file, follow these steps:
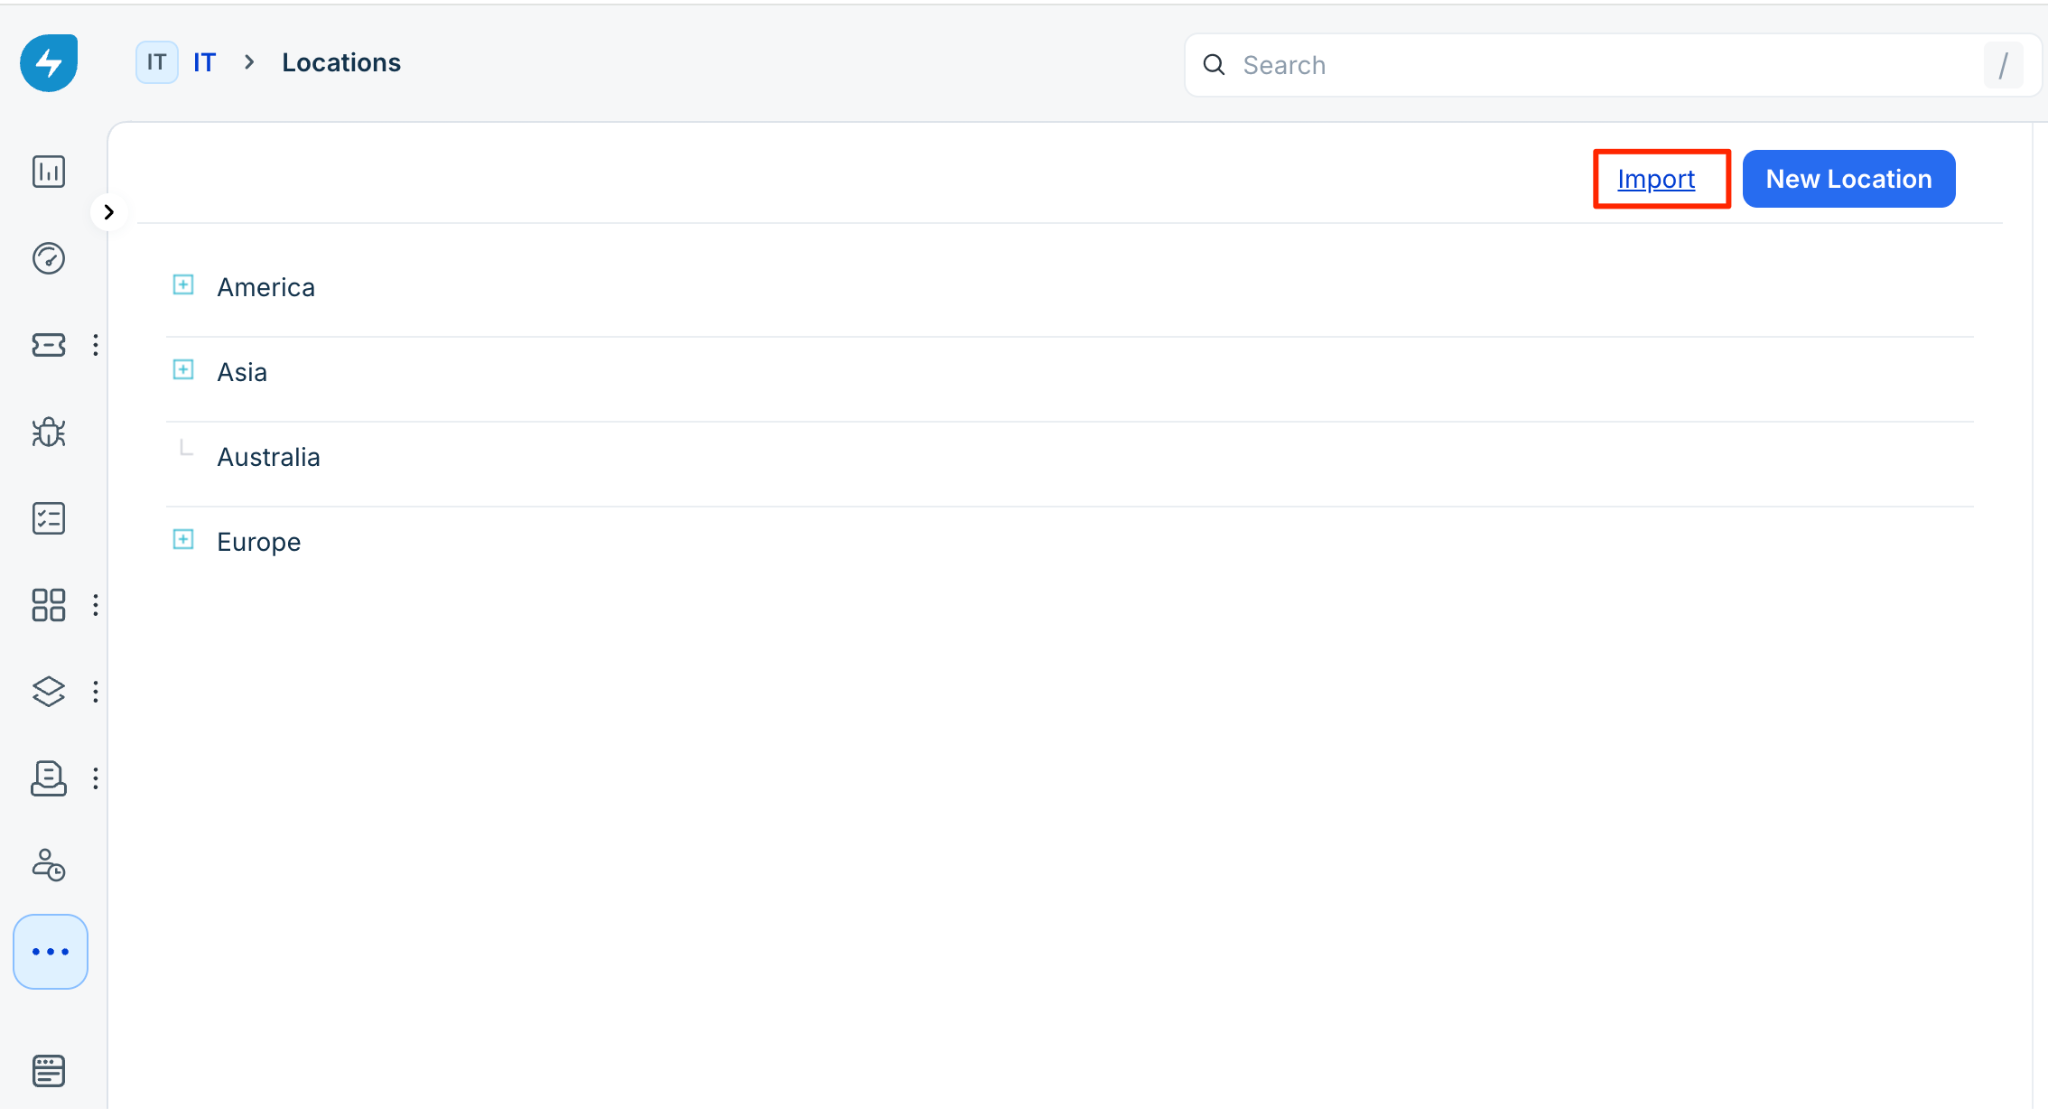
Go to the Locations list and click Import.
In the Location Import pane, click Download sample CSV.
Ensure the CSV file has a dedicated column for the mandatory field named Location Name.
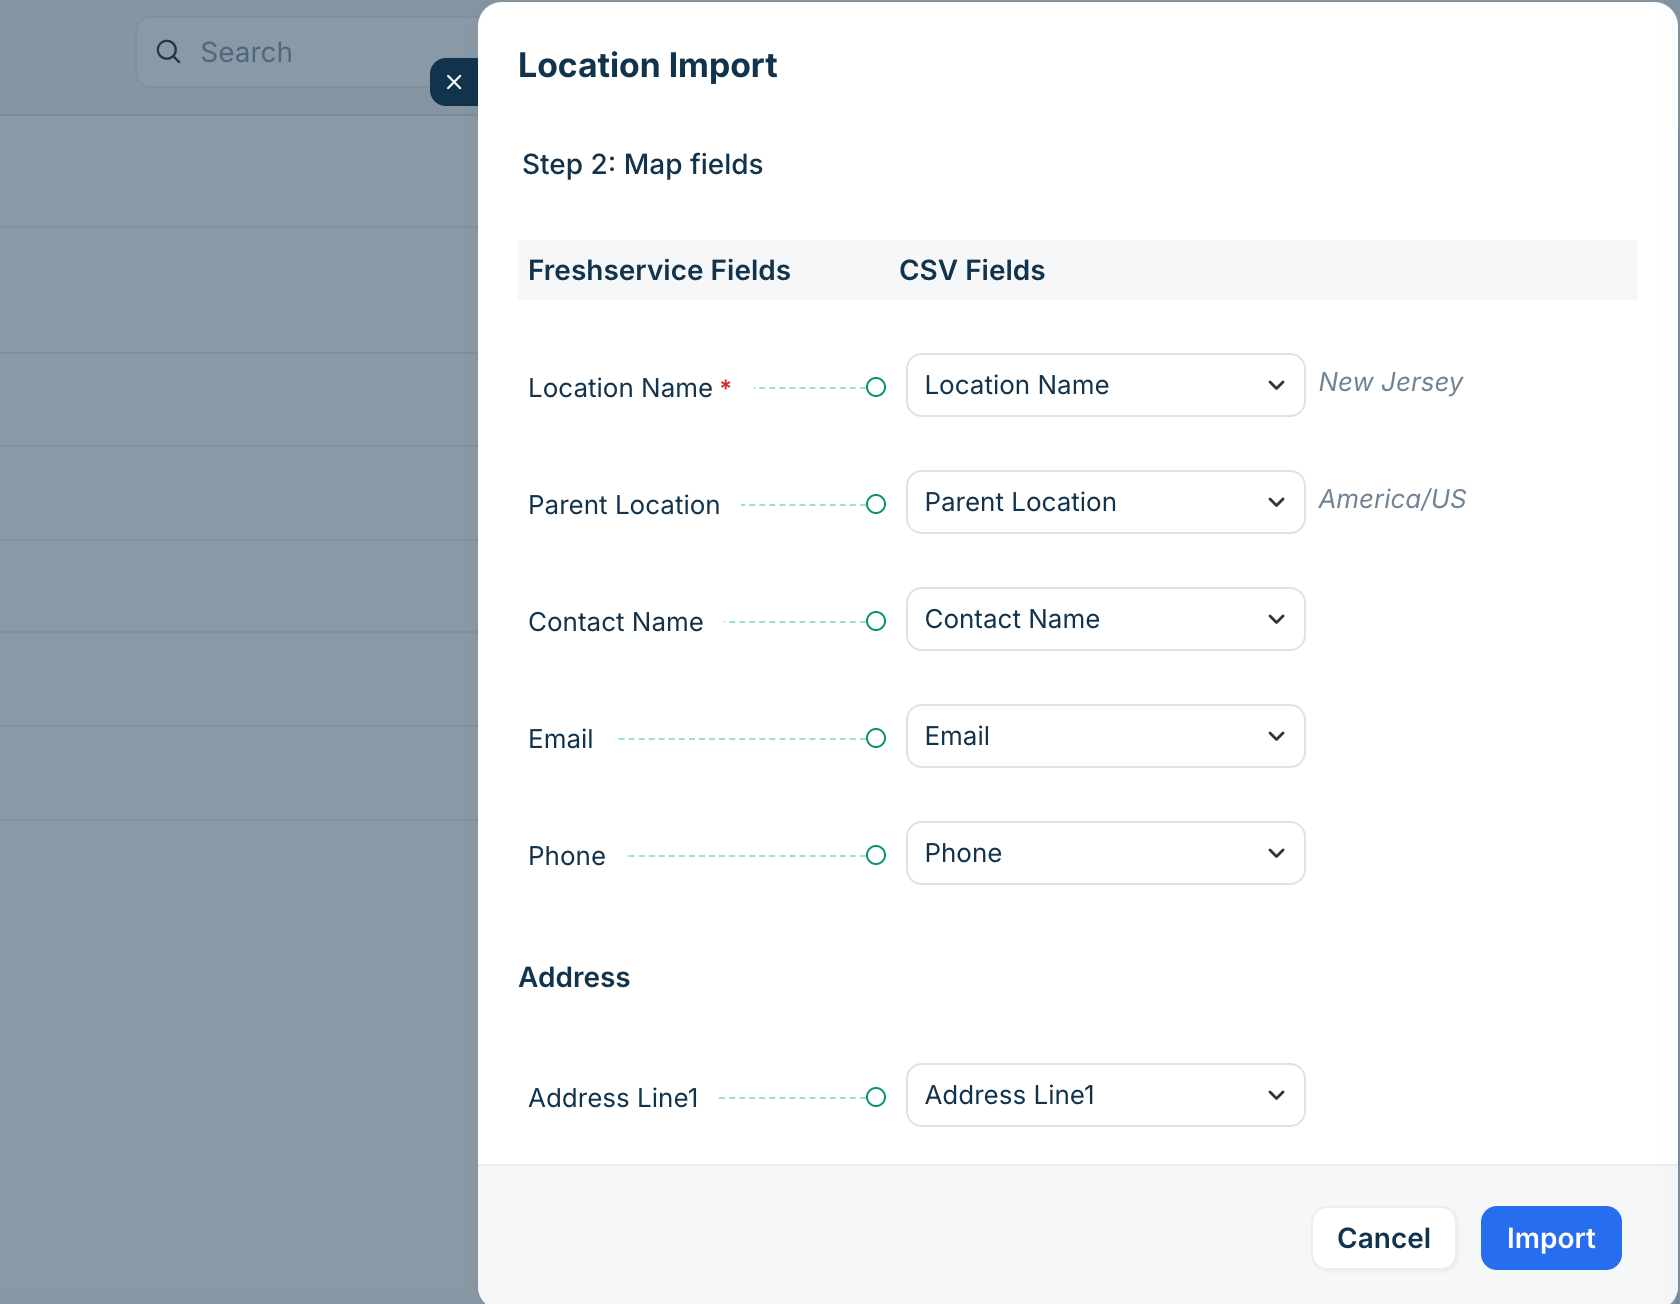
You can format the parent location in a hierarchical path. For example, if the parent location of New Jersey is America > US, ensure that the parent path for it is written as America/US.
Click Upload a file or drag and drop your CSV file into the designated area to complete the import.
Click Next.
In the Location Import pane, check the Freshservice Fields against the CSV Fields, and click Import if everything looks good.