The Intune integration for Freshservice will enable you to sync the devices (Mobile devices and Computers) registered in Intune to Freshservice as assets and keep the assets updated periodically. This will enable you to then assign these assets to users and track the assets throughout their lifecycle.
Apart from syncing device information, the Intune app will also allow you to view the current health of the device directly in Freshservice and perform some device actions such as Lock, Reset Passcode, Wipe, etc right from within the Asset Details page in Freshservice.
To integrate Intune with Freshservice, you will need the following:
- Freshservice Domain Name
- Freshservice API Key
- Client ID (Steps to get the client ID and client Secret are at the end of this solution)
- Client Secret
- Intune Domain name
- Intune Username (required only to perform device actions)
- Intune Password (required only to perform device actions)
Here's how you can set up the integration:
- In your Freshservice Account, go to Admin -> Apps and click on Get More Apps. Search for Intune and click Install
- Enter the Freshservice and Intune details and click Verify.

- Once the account details are verified, you'll be redirected to the Field Mapping section. Here, you can map the fields in Freshservice to the fields in Intune. All the supported Freshservice fields for Computers and Mobiles are listed and you can choose the corresponding Intune field to map.

- Once you have completed the field mapping, click Next at the bottom of the screen.
- You can now choose to enable Device Actions. If you enable this option, you have to provide an Azure User Name and Password that will then be used to perform the device actions.
- You can also choose to specify which agents in Freshservice should be allowed to perform these actions.

- Once you are done with setting up device actions, click Install to install the app. Now the app is enabled and the sync will be scheduled.
Please note that the sync might take anywhere between a few hours to a day (depending upon the number of devices you have in Intune) to sync all the device details to your Freshservice account
Once the Sync process has been completed, if the asset is deleted or removed from the Freshservice manually, it will neither be created nor updated.
Force Sync and Sync Frequency
After installing the app, the recent sync history will appear as the sync logs on the account configuration page. You can view this page by clicking on the Settings button next to the App on the app list page.
- To establish the sync between Freshservice and Intune immediately, click the Sync Now button.
- The default value of the Sync Frequency Interval is set once a week. You can change the value of the Sync Frequency by clicking on the Sync Frequency option.
- Daily Device Sync: Configuration Items (CIs) will be synced daily to ensure they are always up-to-date, providing more accurate and timely updates to asset data.
- Enabling Software Sync: Software sync allows for comprehensive tracking of software installed on devices, ensuring thorough asset management.
- Sync Ownership Info Based on Primary User: Ownership information will now be synced based on the Primary User in Intune, rather than the Enrolled User, providing a more accurate representation of device ownership.
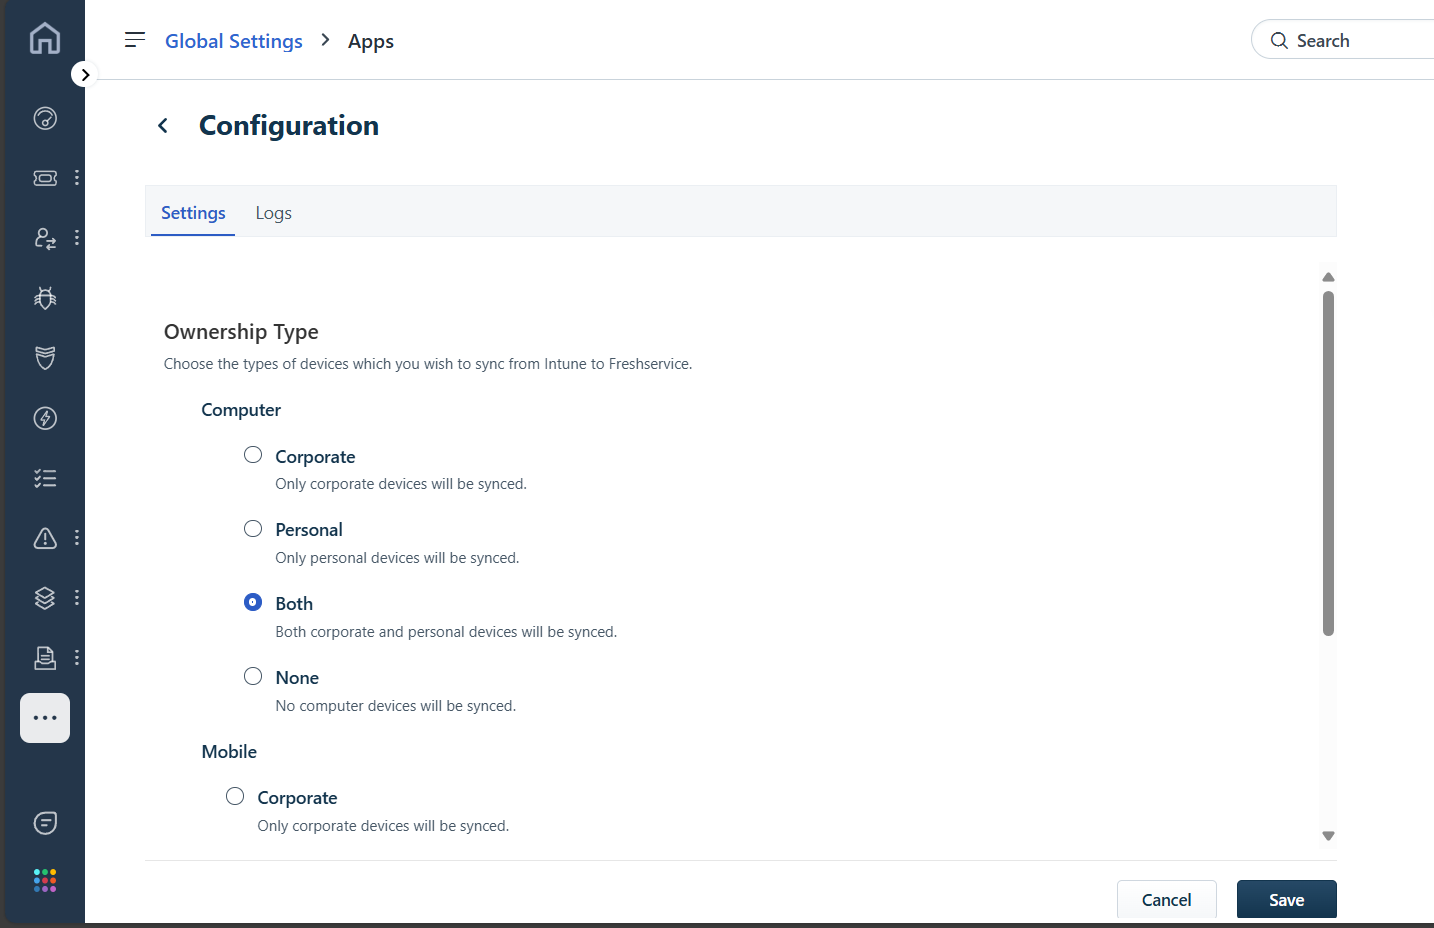
- Flexible Device Sync Options:The integration supports syncing just computers, mobile devices, or both, offering flexibility to tailor the sync process to specific needs.
Please note that if you select the Daily sync option, only the new devices found in Intune will be synced to Freshservice daily. Existing devices will still be updated once a week.

Device Info and Device Actions
Once the app is installed and the devices have synced to Freshservice, you can view the Device Health Info and the Device Actions on the Asset Detail page.
The Device Health Info contains the following details:
- Enrolled on Date
- Last Synced On Date (to Intune)
- Device Compliance Status in Intune

The Device Actions supported:
- Wipe
- Retire
- Reboot
- Shutdown
- Reset Passcode
- Remote Lock
How to obtain a Client ID and Client Secret from Microsoft Azure Active Directory
Here's how you can get the Client ID and Secret from MS Azure AD.
- Sign in to the Azure portal.
- On the top bar, click on your account, and under the Directory list, choose the Azure Active Directory to register your application.

- Click on App registrations

- Click New Registration

- Enter the name of the application to register with the provided name and select the account type for your application to support the Single-tenant. Click the register button

- After registering the application, the Application ID will be generated for your application by Microsoft Azure. This application Id is also known as the Client ID.

- To generate the Client Secret, click Certificates & secrets and it displays the blade that contains the Client Secret section. Then click the New Client secret button and it opens up with the modal view to provide a description for the client secret and the expiry period for the client secret. To achieve a never-ending expiry period for the client's secret, choose the Never option.

- The Client Secret will be generated and Copy the new client secret value. You won't be able to retrieve it after you perform another operation or leave this blade.

- To provide the API Permission for the application, click API permissions and then click the “Add a permission” button. You'll see a list of all Microsoft APIs. Every API Permission will have two sections: Delegated Permissions & Application Permissions
- Two API Permissions are required for this integration.
Microsoft Graph

- Delegated Permission
- Device.Command
- Device. Read
- DeviceManagementManagedDevices.PrivilegedOperations.All
- DeviceManagementManagedDevices.Read.All
- DeviceManagementManagedDevices.ReadWrite.All
- App Permission
- Device.ReadWrite.All
- DeviceManagementManagedDevices.Read.All
Intune

- App Permission
- get_device_compliance
- get_device_compliance
- Add each API Permission and then click the Add Permission button.
- After adding these two API permissions, Click the Grant admin content for the organization name button. Now you are ready to install the integration in Freshservice.