Note: For information on sharing tickets on the requester portal, see Share tickets (for requesters).
Facilitate seamless collaboration between agents and requesters by enabling ticket-sharing capabilities for agents.
To share tickets with agents and requesters:
Log in to your Freshservice account.
Go to Tickets > List.
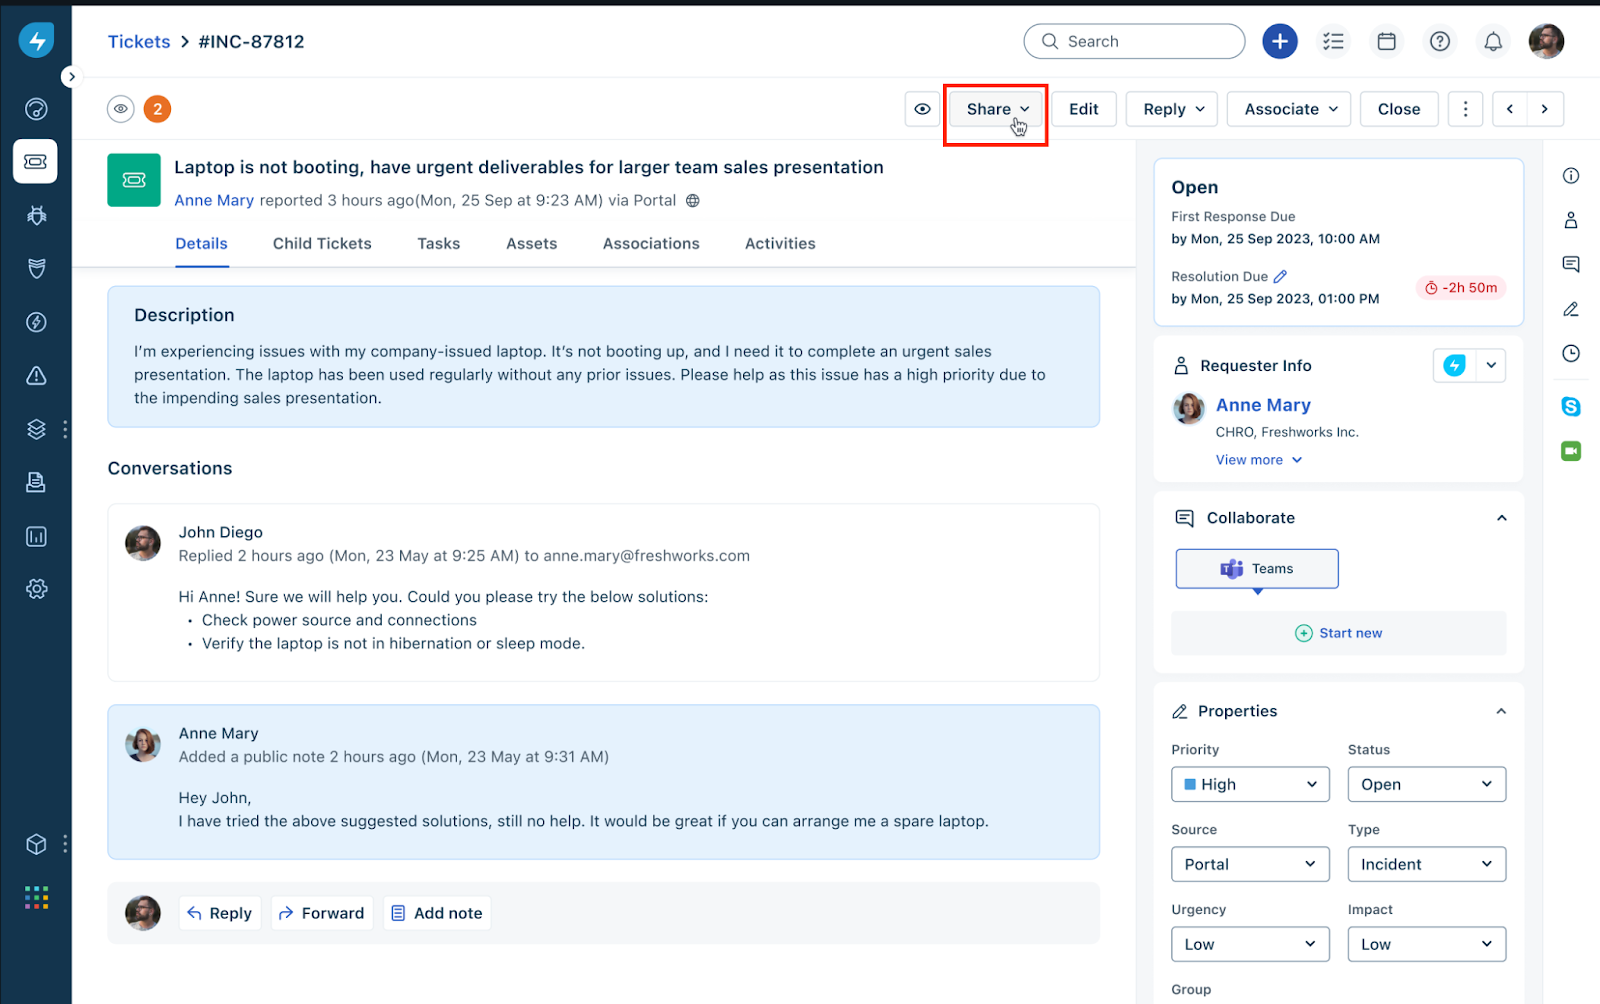
Click any ticket Subject to open the ticket details page.
Click Share.
Search and add users (agents or requesters) with whom you want to share the ticket. Or, you can copy the public link and share it with relevant users.

After adding users, click Share

To view the tickets shared with you:
Go to Tickets > List.
Click the ellipses icon next to Tickets List at the top-left corner.
Select Shared with Me.
