The SharePoint Integration for Freshservice allows you to automatically push documents generated from your tickets into specific SharePoint folders. This ensures that all your employee contracts, verification letters, and other essential documents are securely stored and organized in your central repository.
Prerequisites
An active Microsoft SharePoint account with administrative privileges.
Freshservice Admin access to install apps and manage Document Templates.
Install SharePoint Integration
Automate document generation and storage by linking your Freshservice service catalog to specific SharePoint folders.
1. Installing and authenticating the SharePoint App
Follow these steps to integrate and configure the app:
Step 1: Start installation:
Log in to your Freshservice account and go to Marketplace Apps.
Search and select the SharePoint Integration app using the Search apps option.
Click Install to open the Configuration page.
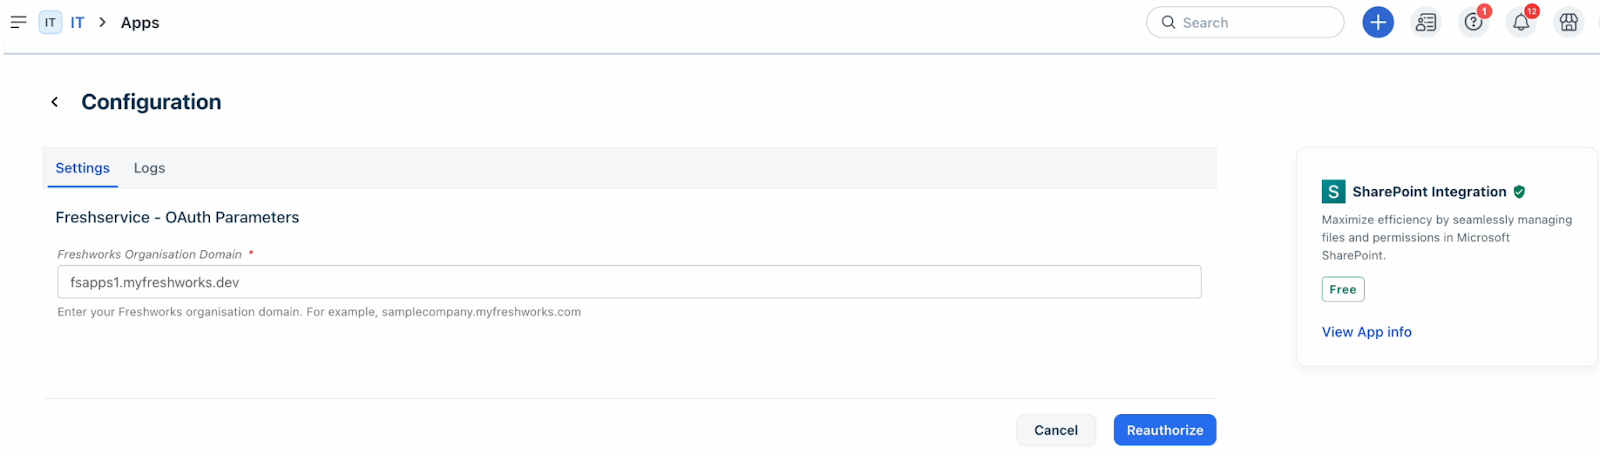
Step 2 : Configure Freshservice-OAuth parameters:
On the Configuration page, the Freshworks Organization domain is auto-populated.
Click Authorize, and then select the Freshservice account you want to integrate. Once authentication is successful, the app status will show authentication successful.
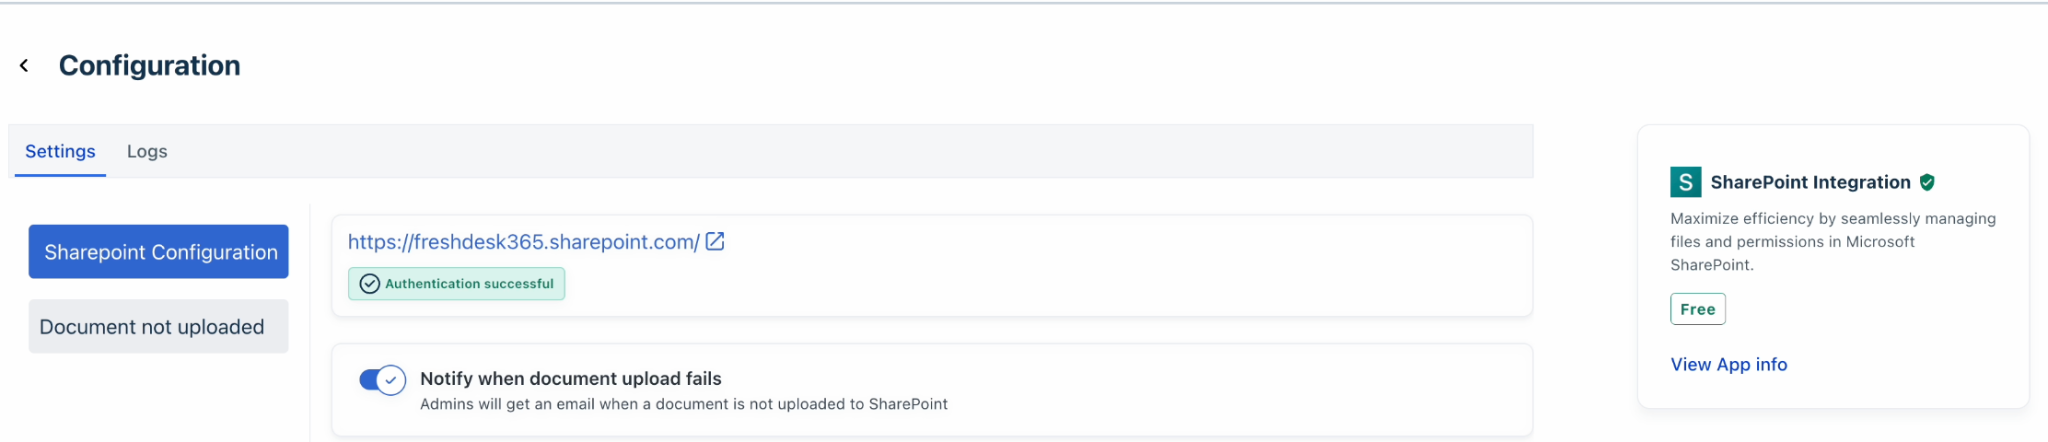
Step 3: App configuration:
After authorization, in the SharePoint Configuration section you can check if the authorization was successful.
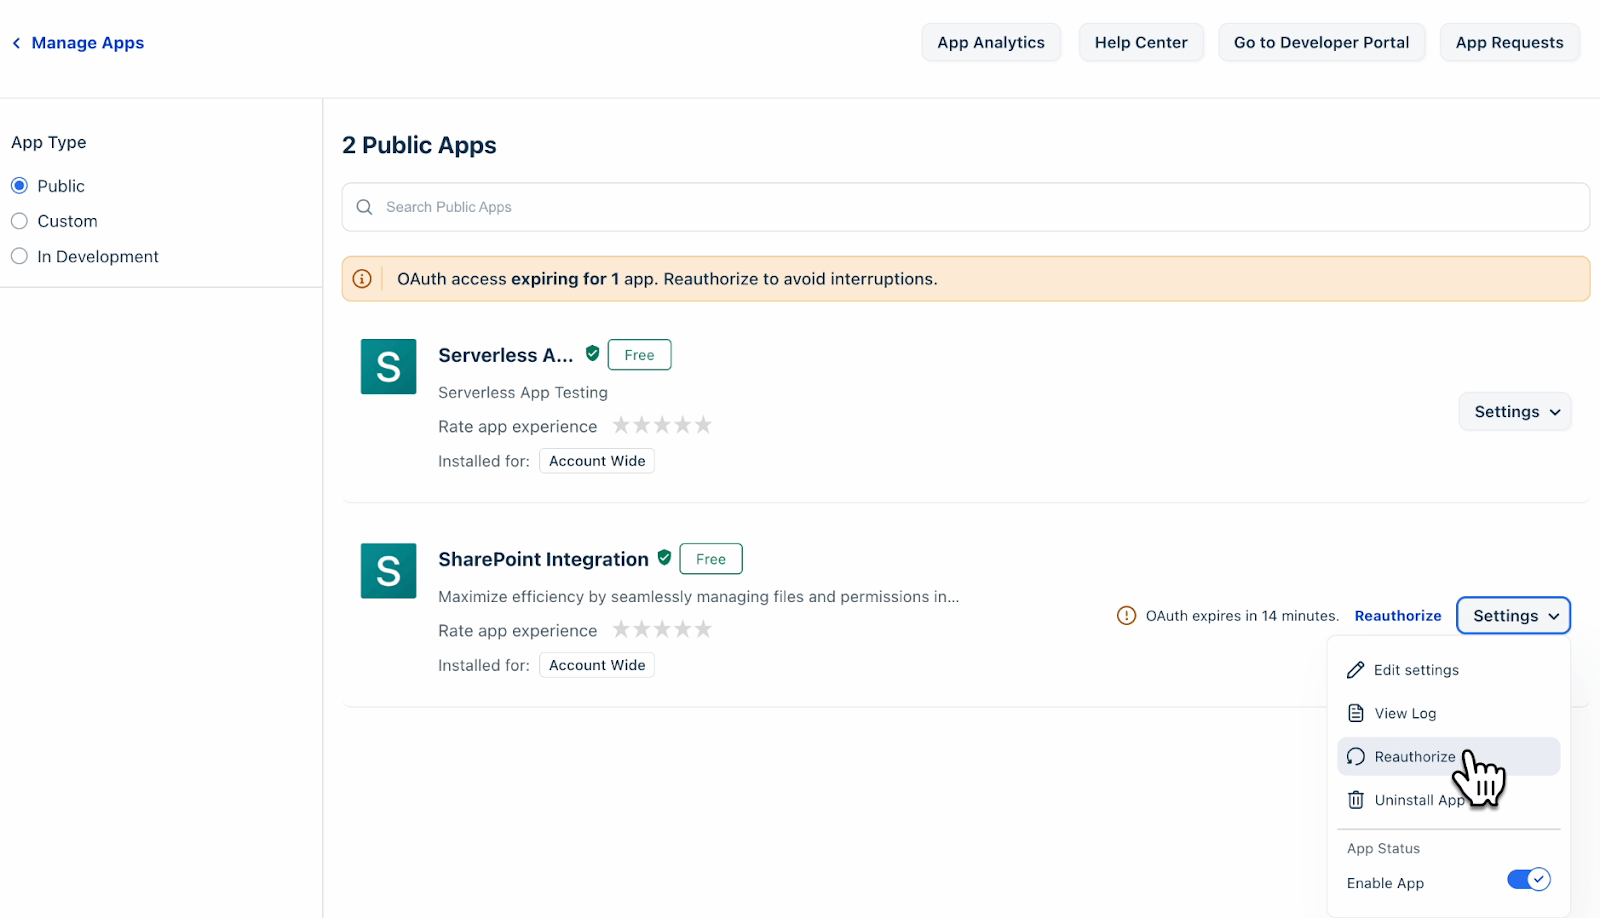
If the SharePoint authorization is expiring, click Reauthorize.
2. Configuring SharePoint as a storage destination
Link your SharePoint instance to specific document templates to automate where your files are saved.
Navigate to Admin > Service Management > Document Templates and Signatures.
Select Create Template or edit an existing template.
Upload your template in .docx format.
Optionally, you can add any required e-signatures. Once the signatures are received, the document is stored in SharePoint.
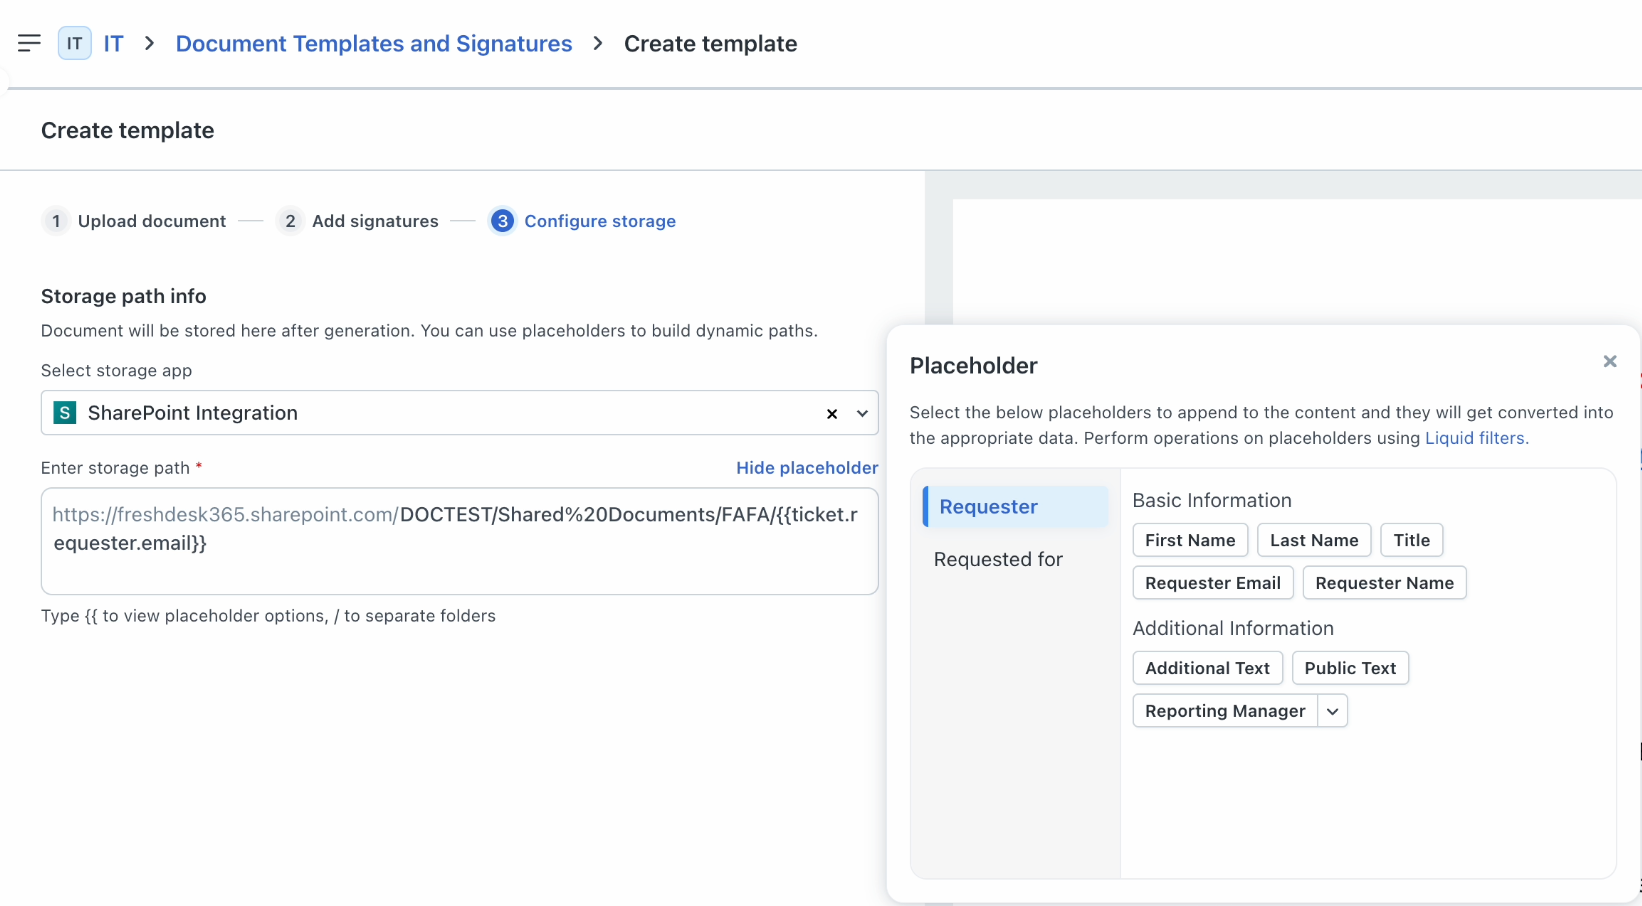
In the Configure storage section, select SharePoint Integration from the storage app list.
In the Enter storage path box, enter the destination path. You can copy the path from your SharePoint account. Note: We recommend using the format Site Name/Drive Name/Folder Path (for example: TEST/Shared Documents/EmployeeDocs).
Select Insert placeholder to add dynamic placeholders (such as {{ticket.id}} or {{requested_for.email}}) to the path. The value of these placeholders for the respective ticket will be used to identify the URL where the file gets uploaded.
3. Linking templates to Service Catalog Items
Once your template is ready, link it to a service item to trigger the document generation.
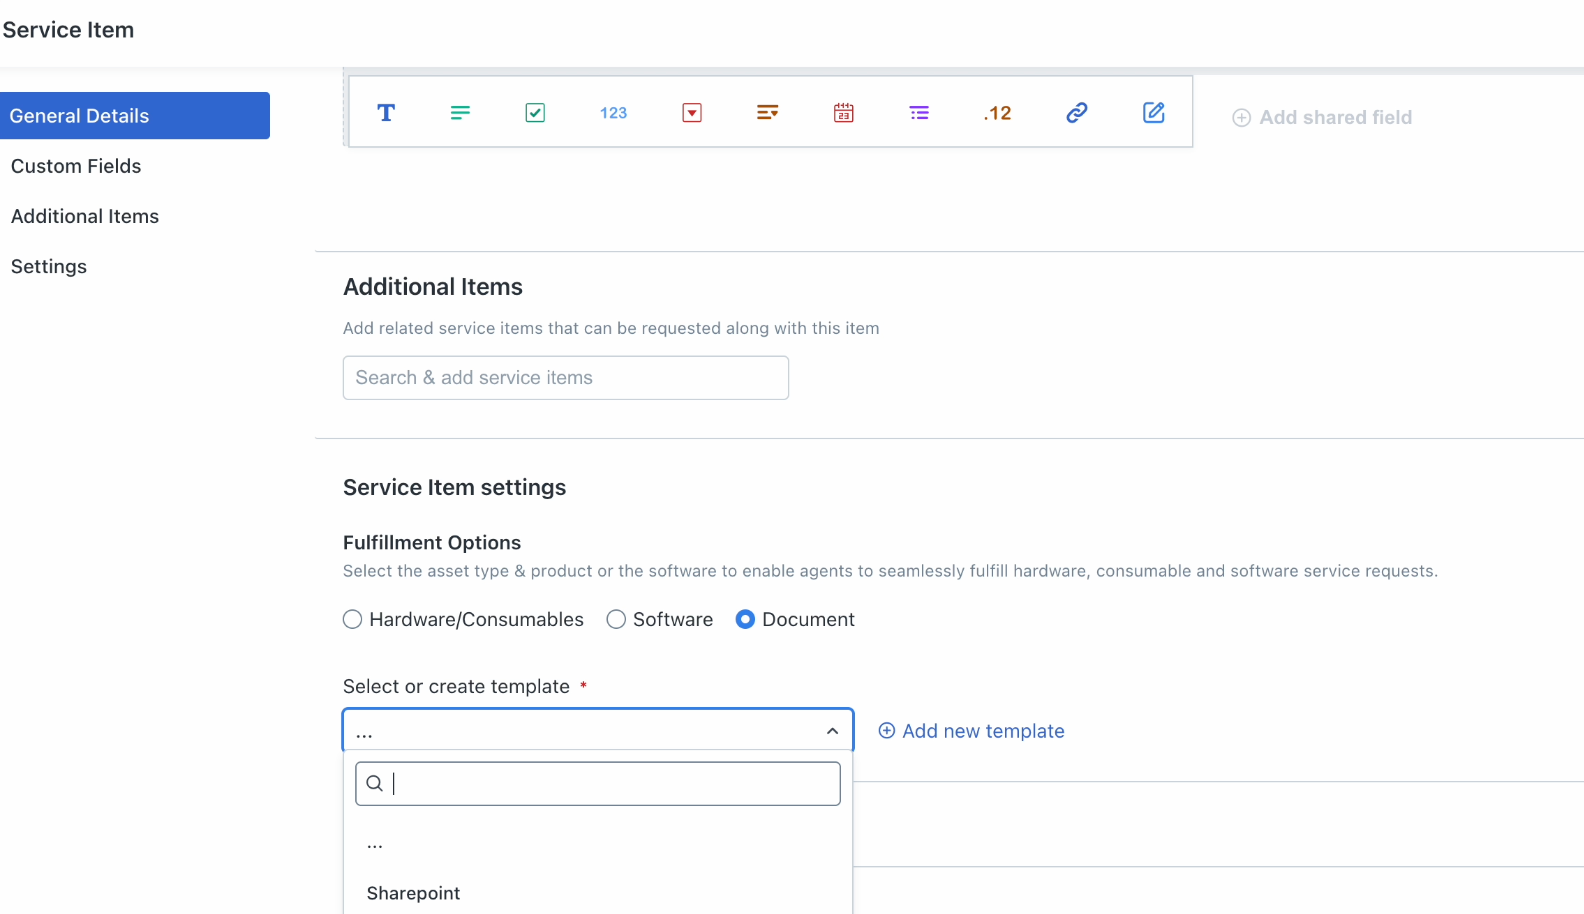
Go to Admin > Service Management > Service Catalog and create a new Service Item.
Under Service Item Settings, select Document.
Select the SharePoint-enabled template you created.
Map the placeholders in your document to the corresponding Freshservice fields. For example; Ticket ID, Requester Name.
Click Save and Publish.
How SharePoint Integration works
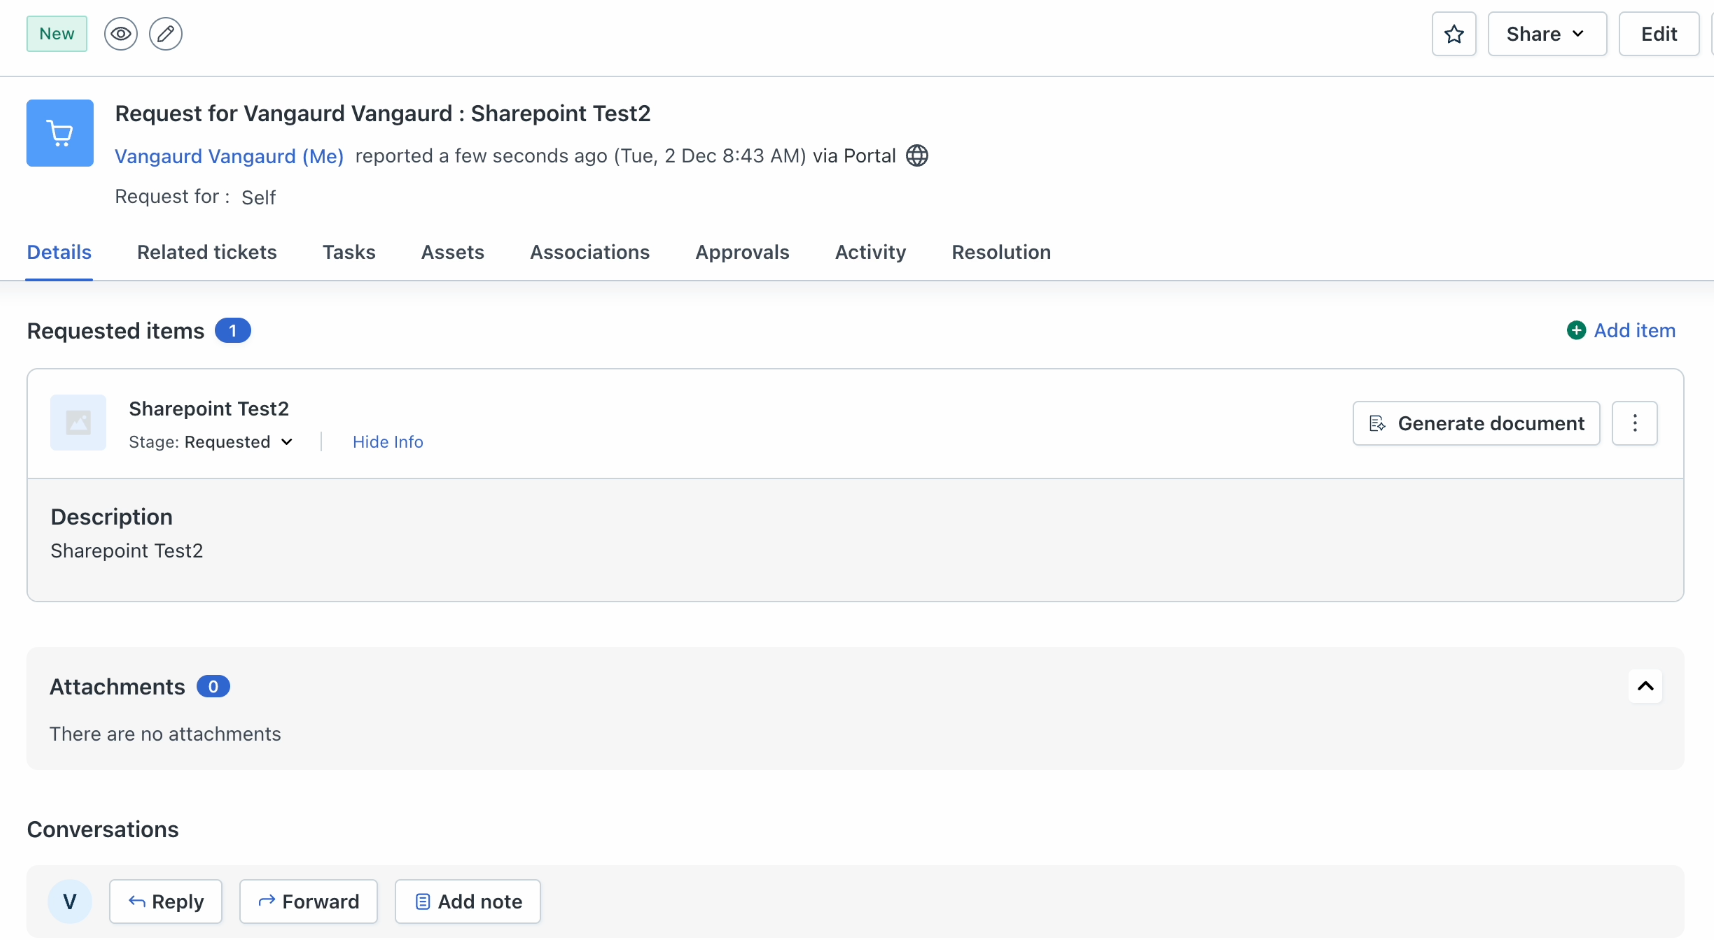
To generate a document, open the ticket and select Generate Document in the Requested Items section. After reviewing the document preview, select Generate and Send. Freshservice generates the document as a PDF and uploads it to the configured SharePoint path. See Auto-save generated documents to SharePoint for more information.
A green icon next to the attachment indicates a successful upload. Select the icon to open the file directly in SharePoint. A red icon indicates that the upload failed.