The Service Catalog helps you showcase the services you offer, so end users can easily request for them. You can also add service items that can be loaned to users.
With Loaner Service Items you can display service items that can be requested by a user for a specific period of time. For instance, if a user is traveling to a 3-day event and needs an iPad or a tablet just for that duration, it doesn’t need to be permanently assigned to them. Once the item is returned to the IT team, it can be made available in the service catalog again and can be reused by another user.
Depending on the duration the item is loaned for, Freshservice sends out an automated email reminder to the requester:
| Duration | Notification sent |
| Over 48 hours | 1 day prior |
| Between 4 and 48 hours | 2 hours prior |
| Under 4 hours | 10 minutes prior |
Loaner items are subject to availability. If an item is not available for the requested time slot, Freshservice suggests other times when it will be available. This is really helpful in a number of cases. For instance, if a user needs an item for a project, they can plan ahead and perhaps book it for an earlier slot.
When a loaner item is requested, Freshservice auto-reserves an available loaner asset to the loaner service request.
RETURNING AN ITEM
In case the item is returned by the user before the requested time, then the 'To' time in the Service Request has to be changed to the time when the item was returned and the Service Request 'stage' has to be changed to 'Returned' for the item to be available for the next user.
Example: Mark wants an iPad for 3 hours, from 2 PM to 5PM. However, he returns the item early at 4 PM. The item state has to be marked as 'Returned' for other users to loan the item from 4 PM.
Configuring a loaner service item involves two steps:
Step 1: Updating the Usage Type of the item’s CI entry to ‘Loaner’.
Step 2: Adding the item to the Service Catalog.
Step 1
Login to Freshservice as an admin.
Go to the Assets tab, find, and click on the CI name.
Click on Edit.
Change the Usage Type of the asset to ‘Loaner’.

Step 2
Go to the Admin console and click on Service Catalog.
Click on Add New and select Service Item. This takes you to the new service item form.
Fill in the details of the item:
Image: The image you upload will be displayed as the thumbnail for the service.
Product Name: This will be the default name of requests raised for the service.
Service Category: You can choose one of the default categories provided and add new categories if required.
Item can be requested as: Choose 'Loaner item'.
Asset type/Product: This makes sure Freshservice accepts requests only if a loaner asset is available, else Freshservice will suggest other available times to the requester.
Short Description: This is displayed to the requesters below the image when they browse the catalog.
Description: Add a more detailed description of the item. This will be the default description of the service requests.
Cost: Click on the pencil icon for the option to make it visible in the portal.
Estimated Delivery: This can also be made visible on the portal. This field is not displayed if the item type is 'loaner'.
Quantity Visible: Check the box to make the item's quantity visible on the portal. This field is not displayed if the item type is 'loaner', as the quantity is restricted to one in the case of loaner requests.
Status (Draft/Published): Here's something important: If a Service Category does not have any 'published' items, it will not be displayed on the portal.
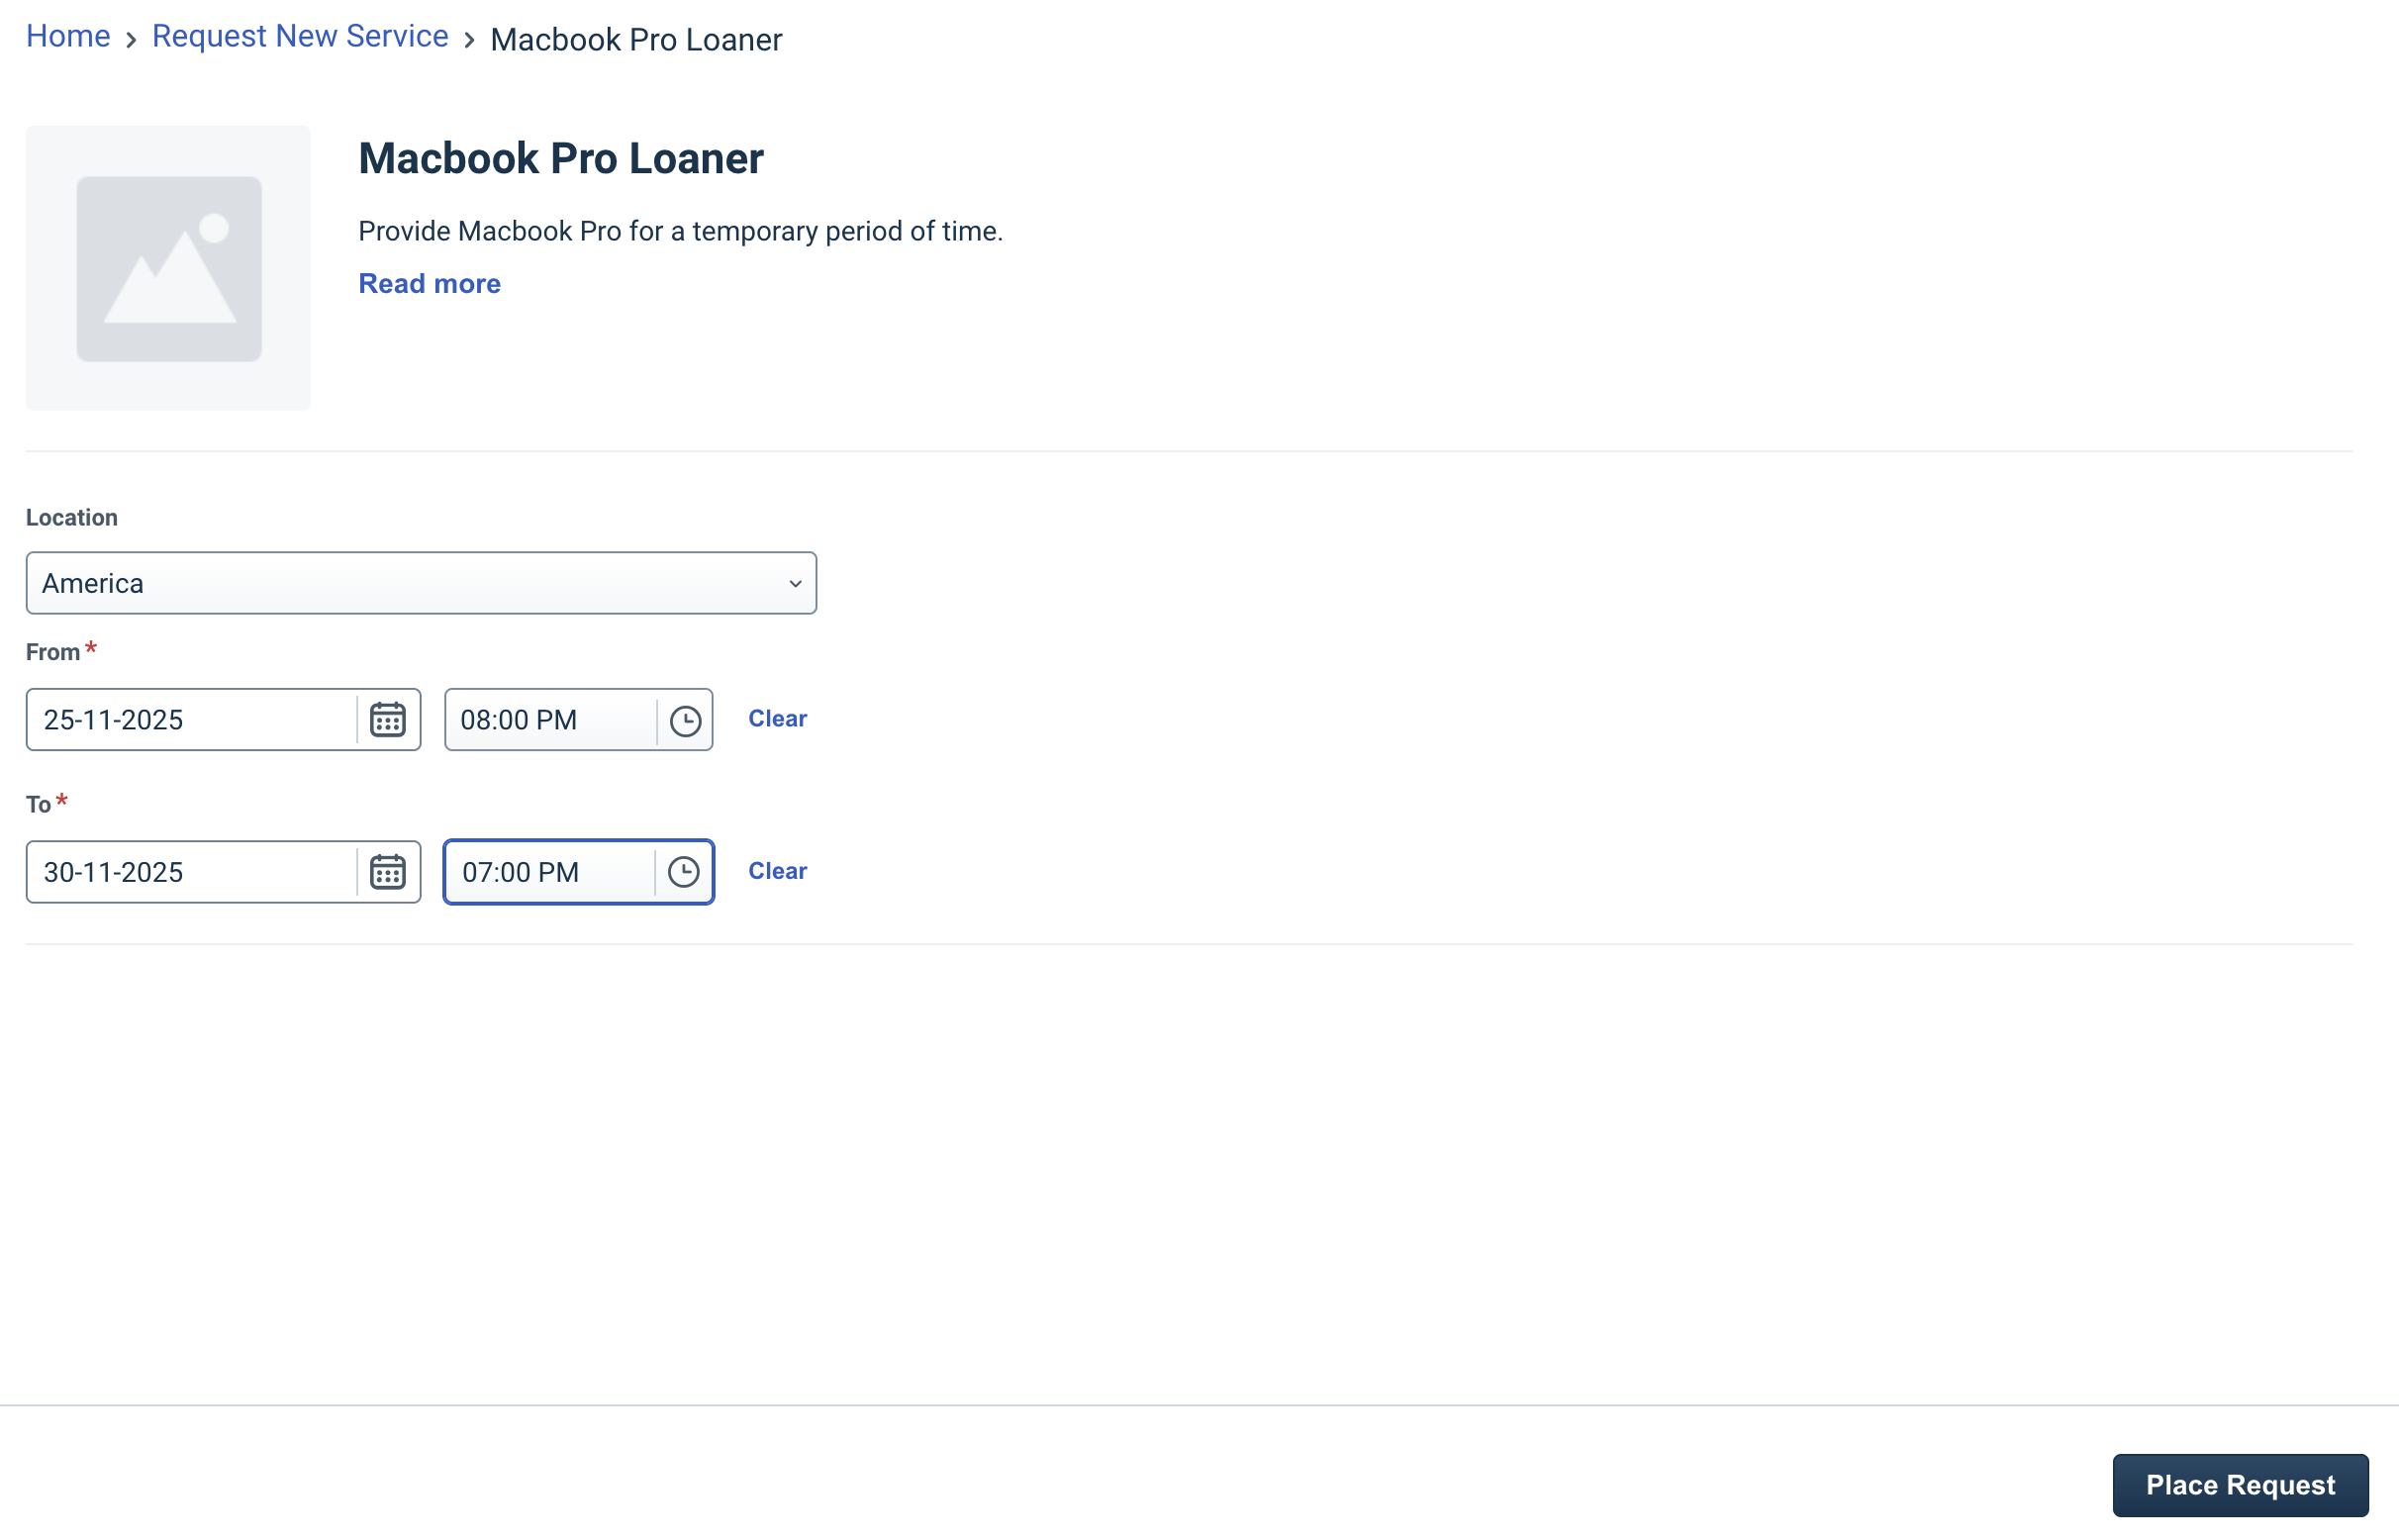
You might need to add fields on the 'Request Form' for the item (like 'Employee ID, Manager's Name', for instance). For this, you can drag and drop custom fields from the right pane. The 'Location', 'From', and 'To' fields cannot be removed by the admin. The 'From' and 'To' fields are mandatory fields that the requester needs to fill while requesting a Loaner Item. The 'Location' field is only shown to the requester if any of the loaner assets are associated with a location.
Hit Save when you’re done. You can also see a preview of the item by clicking Save & Preview (as the name suggests, it updates the item in the database and then displays a preview).

A requester can select a loaner asset on the Service Catalog page and fill in the following form to request for the loaner asset.