
 Community
 Video Library
 Agent Training
 Freshservice
 Freshdesk
 Freshchat
 Freshcaller
 Freshsales
 Freshteam
 Freshworks Neo
 Freshsurvey
 Freshservice for MSP
 Custom functions allow administrators to author and execute JavaScript for inline data transformation within Freshservice AI Agent Workflows. This article provides details about custom functions, their core components, and the steps to create and configure them.
TABLE OF CONTENTS
- Prerequisites
- Overview of custom functions
- Create a custom function
- Use a custom function in a workflow
- Manage custom functions
- Use case example: Software update request processing
Prerequisites
Before you use functions, ensure that the following requirements are met:
Ensure that you have administrator access to AI Agent Studio.
You have created an AI Agent workflow to process data.
You have a basic understanding of JavaScript if you plan to create custom functions manually.
Overview of custom functions
Custom functions enable seamless inline data processing and transformation within AI Agent Workflows. By authoring custom JavaScript code, you can process input variables such as workflow variables, API response bodies, and conversation or requester properties, and return structured JSON data for downstream workflow execution.
Custom functions offer several operational capabilities to extend service desk automation:
Transform and manipulate data from Freshservice ticket fields, API requests and responses, and system properties.
Apply business logic such as calculating SLA resolution windows, evaluating requester status, or formatting ticket details.
Pass function outputs directly to downstream components such as conditions, custom agent responses, or API actions.
Reuse standard transformation logic across multiple AI Agent workflows in your Freshservice workspace.
For an overview of functions, the available function types, and how functions work in AI Agent workflows, see Create and use functions in AI Agent workflows
Create a custom function
Creating a custom function involves configuring input variables, writing JavaScript code, testing with sample data, and defining output parameters. To create a custom function, follow these steps:
Click AI Agent Studio > Library > Functions.
Click Create.
Click General and enter the name and description for the function.
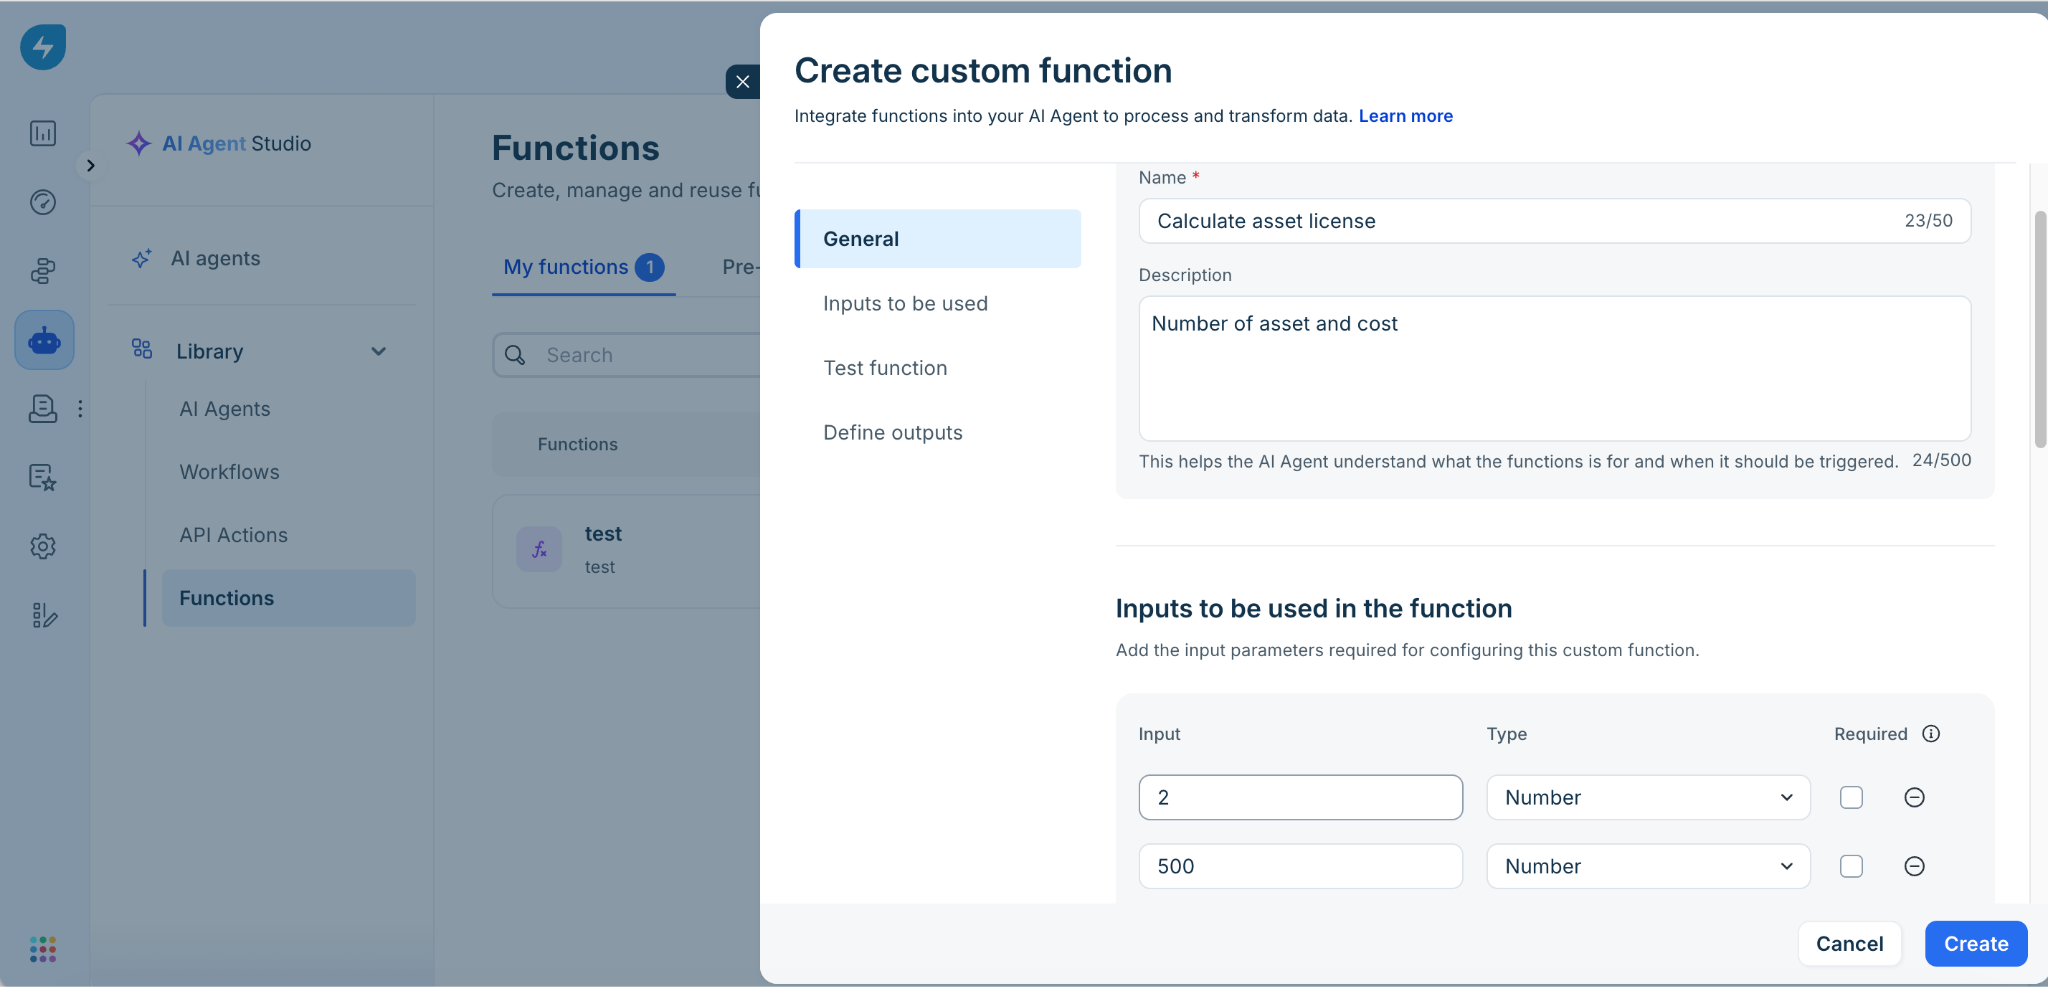
Under Inputs to be used in the function, do the following:
Enter a name for the input parameter.
Map the data type (text, number, boolean, list).
Select Required if the input should be mandatory for the function.
To add more inputs, click Add input and repeat the steps.
Click Code editor and write the function logic. The function should process the configured inputs and return a valid JSON object.
Click Test function, provide sample values for the input parameters, and then click Run test.
For example, if your function filters eligible orders, you can provide the following sample:
input:
{
"orderId": "ORD-1001",
"status": "Delivered",
"daysSinceDelivery": 12
}
Click Run test review the test results, including the body response and console logs, to verify that the function returns the expected output and configure the values that the AI Agent should make available to downstream workflow components.
For example, you can define outputs such as eligibleOrders or orderCount, which can later be used in conditions, custom responses, or API actions.
Click Create.
Tip: Test your function with different combinations of valid, invalid, and empty input values to verify that it handles different scenarios correctly.
Use a custom function in a workflow
After creating a custom function, you can use it anywhere within an AI Agent workflow where custom functions are supported.
Custom functions can be used in the following ways:
As a standalone function node within workflows.
The outputs of Functions can be used in downstream nodes, but Functions themselves cannot be executed within a condition, Custom Response node, or similar node.
For instructions on using functions within workflows, see Manage and use functions in AI Agent workflows.
Manage custom functions
You can manage the custom functions created from the My functions tab. Use the available actions to find a function, review its details, make changes, create a copy, or remove it.
To manage a custom function:
Go to AI Agent Studio > Library > Functions.
Select My functions to manage your custom functions or Pre-built functions to browse the available pre-built functions.
Use the Search field to find a function by name, or click Filter to narrow the list.
Click the overflow menu (⋮) menu next to a function and select an action:
View: Review the function details, including its inputs, code, and outputs.
Edit: Update an existing custom function.
Clone: Create a copy of the function that you can modify separately. You can use this option to customize a pre-built function.
Delete: Remove a custom function that you no longer need.
If you edit or clone a function, make your changes and save the function.
Note: You can not delete a function that is used in an active workflow. Resolve its workflow dependencies before deleting it.
Use case example: Software update request processing
This example illustrates how a custom function processes incoming software update requests to determine ticket priority and auto-approval status.
Scenario description
Service desk teams frequently receive tickets requesting software updates or installations.
When a user submits a ticket for a software update, the AI Agent workflow passes the software name, user department, and whether the update is marked as a critical security patch to a custom function named ProcessSoftwareUpdate. The function evaluates these inputs to output the ticket priority, an auto-approval flag, and the appropriate fulfillment group.
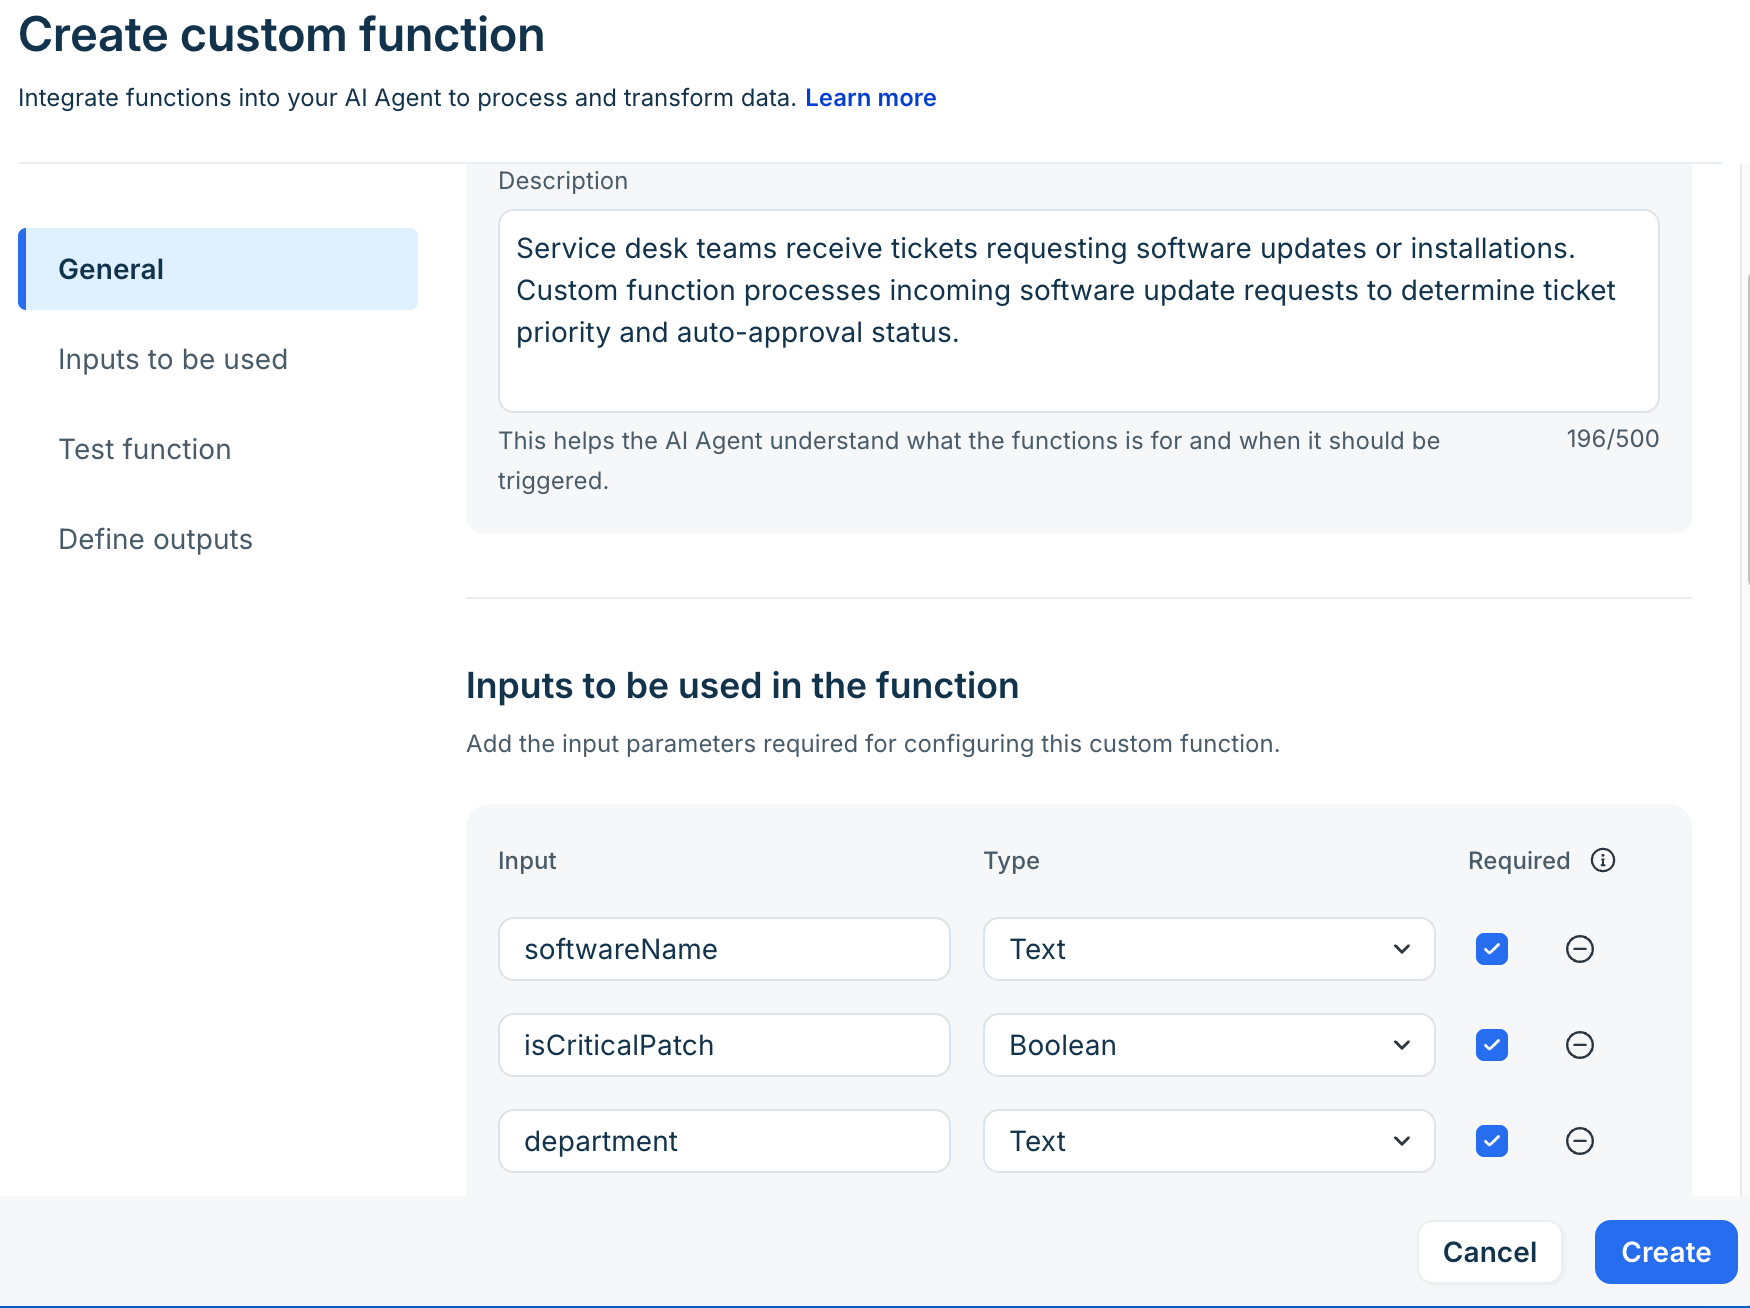
Input parameters
The function requires specific input variables from the incoming ticket to execute the logic.
softwareName: Text (Required)
isCriticalPatch: Boolean (Required)
department: Text (Required)
JavaScript logic
Enter the following script into the Code editor to calculate ticket fields dynamically.
JavaScript
// Evaluate software update request details let priority = "Low"; let autoApprove = false; if (isCriticalPatch) { priority = "High"; autoApprove = true; } else if (softwareName === "Operating System" || softwareName === "Antivirus") { priority = "Medium"; autoApprove = true; } return { ticketPriority: priority, isAutoApproved: autoApprove, assignedGroup: "SOFTWARE_SUPPORT_" + department.toUpperCase() };
Sample test data and output
Test the custom function with sample ticket data to verify the calculated output. Provide the following JSON payload under Test variables in the Test function section:
JSON
{
"softwareName": "Antivirus",
"isCriticalPatch": true,
"department": "Engineering"
}
Click Run test to review the output returned under the Response tab:
JSON
{
"ticketPriority": "High",
"isAutoApproved": true,
"assignedGroup": "SOFTWARE_SUPPORT_ENGINEERING"
}