In Freshservice, you have the ability to customize the fields in the Planning section to suit the needs of your organization better.
Here are the steps to add custom fields for the Planning section in Freshservice:
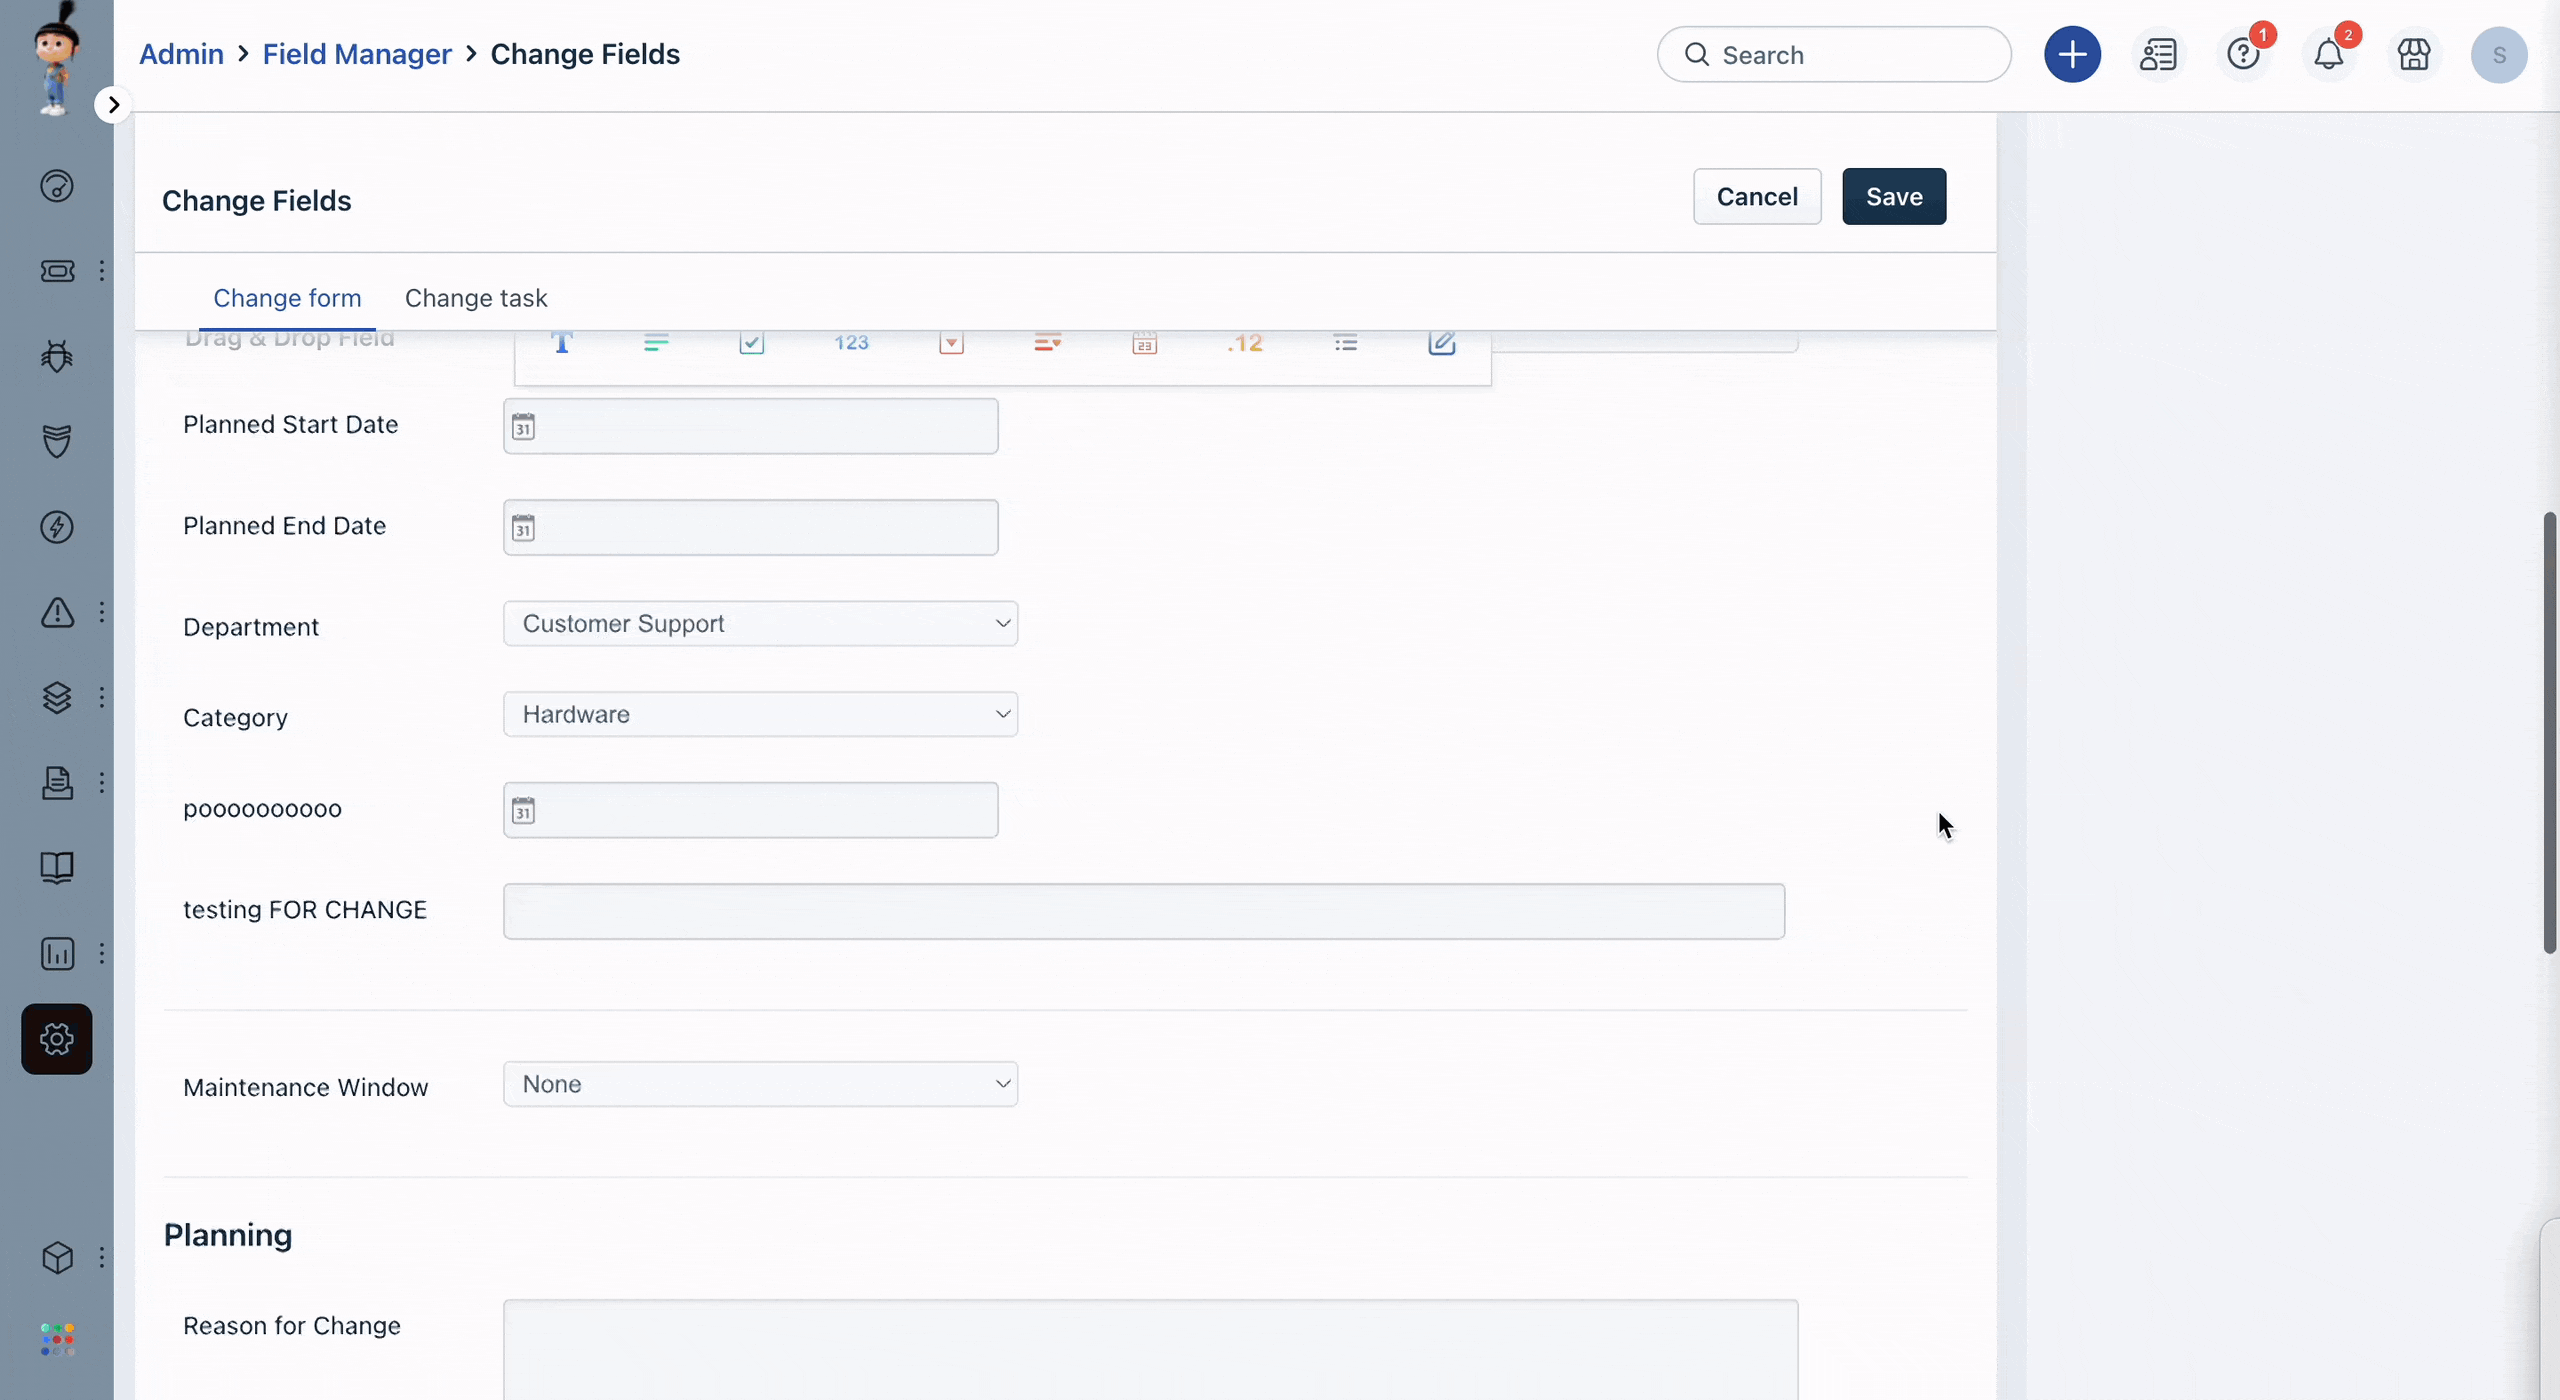
- Log in to Freshservice as an administrator.
- Go to Admin > Service Management > Helpdesk Settings > Field Manager.
- Click on Change Fields and scroll down to the Planning section.
- Click on Add new field and provide a name and other relevant details for the new custom field.
Note that only paragraph-style fields can be added to the Planning section. Other field types, like checkbox, dropdown, number, etc., are not supported in this section. - Click Done and Save to add the new custom field.
- To modify or delete an existing custom field, click on the pencil icon of the respective field and make the necessary changes.
Your custom fields will now be available in the Planning section of Freshservice.